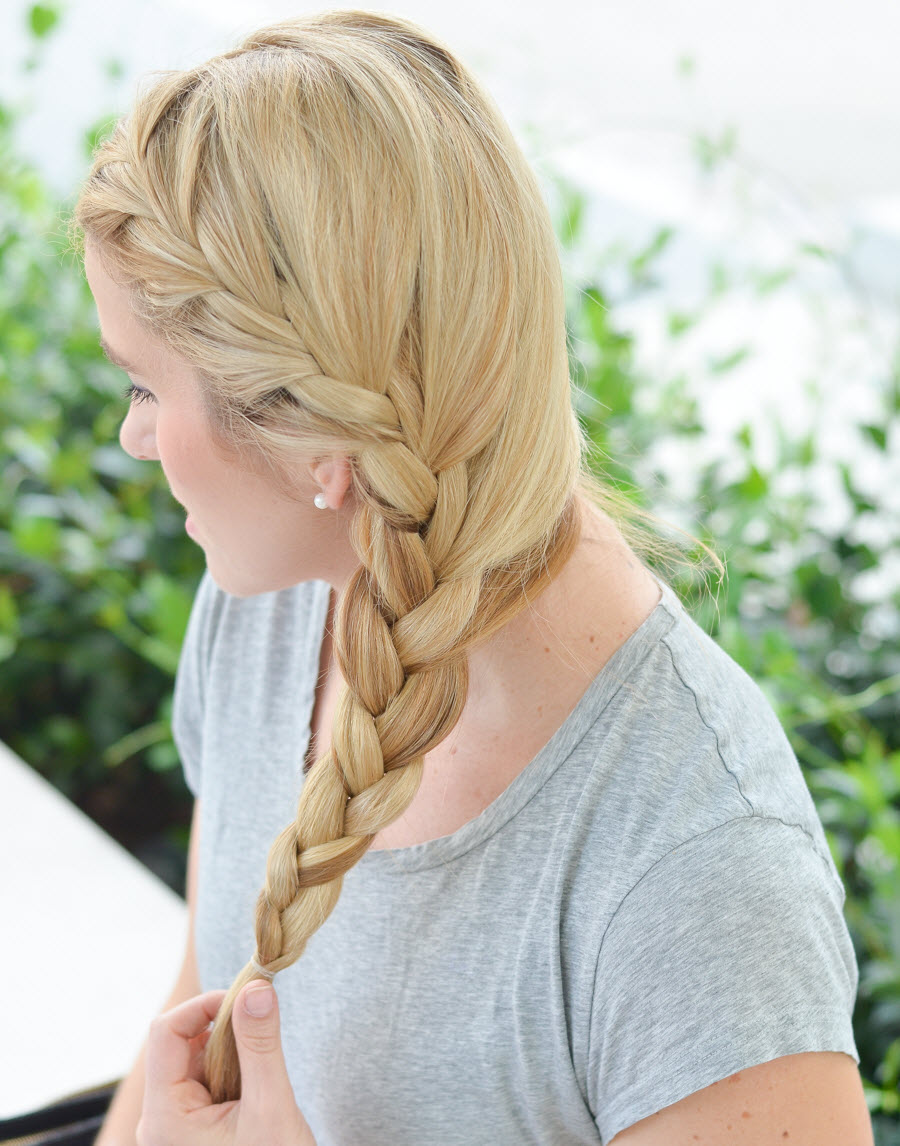
One-Sided Braid Tutorial
There’s a little backstory to this one-sided braid. I decided a few years ago (before we were engaged) that I would let my hair grow until my wedding. Of course I’ve had it trimmed. For the most part, however, I’ve let it be. I absolutely love the way it looks long. The weight holds it down to prevent so much frizz and the bright blonde can be very eye catching.
While it looks great down, it has become a headache to maintain – quite literally. If I have my hair in any sort of bun or ponytail for the day, I will get a mild to medium headache. I really do have that much hair. I’ll be excited for a major trim post-wedding (probably 3 inches inches or so). I don’t know that it will look too much different, but it will feel amazing.
Because of my hair issues, I have a few hairstyles that are easy and pain free. This one-sided braid is my best discovery. It comes together quickly and I love that I can do it with straight or wavy hair. I haven’t tried it with wet hair, but I’m positive it would be fine.
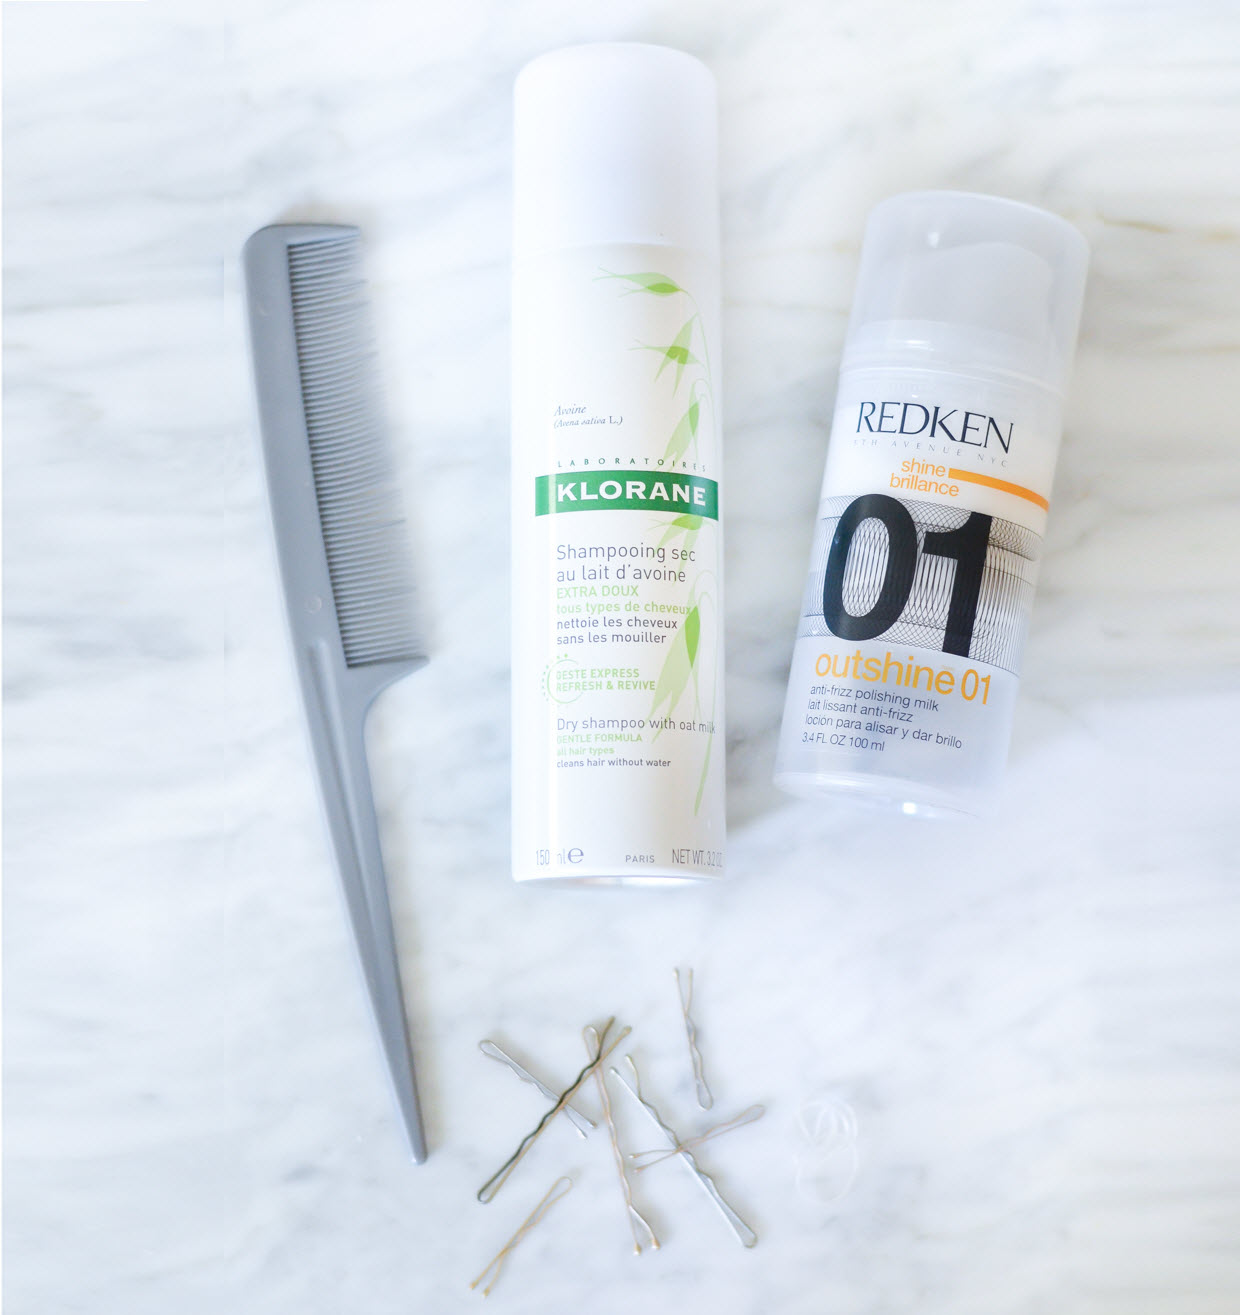
For this hairstyle you’ll need Anti Frizz Creme or a great anti-frizz spray, Fine Tooth Comb, plastic rubber bands, Bobby Pins (mini + full size) – also available in black. For an extra bit of fabulous, a hair oil, would be a lovely addition.
For fine hair or hair that hasn’t been washed in a few days, spray Dry Shampoo on roots for more grip.
See my go to clean beauty hair and beauty picks and my complete Innersense Hair Products reviews (a clean, organic, B Corp hair brand that’s FANTASTIC)! They have a scalp care line that will keep any itching and flakiness at bay!
One-Sided Braid Step-by-Step Tutorial
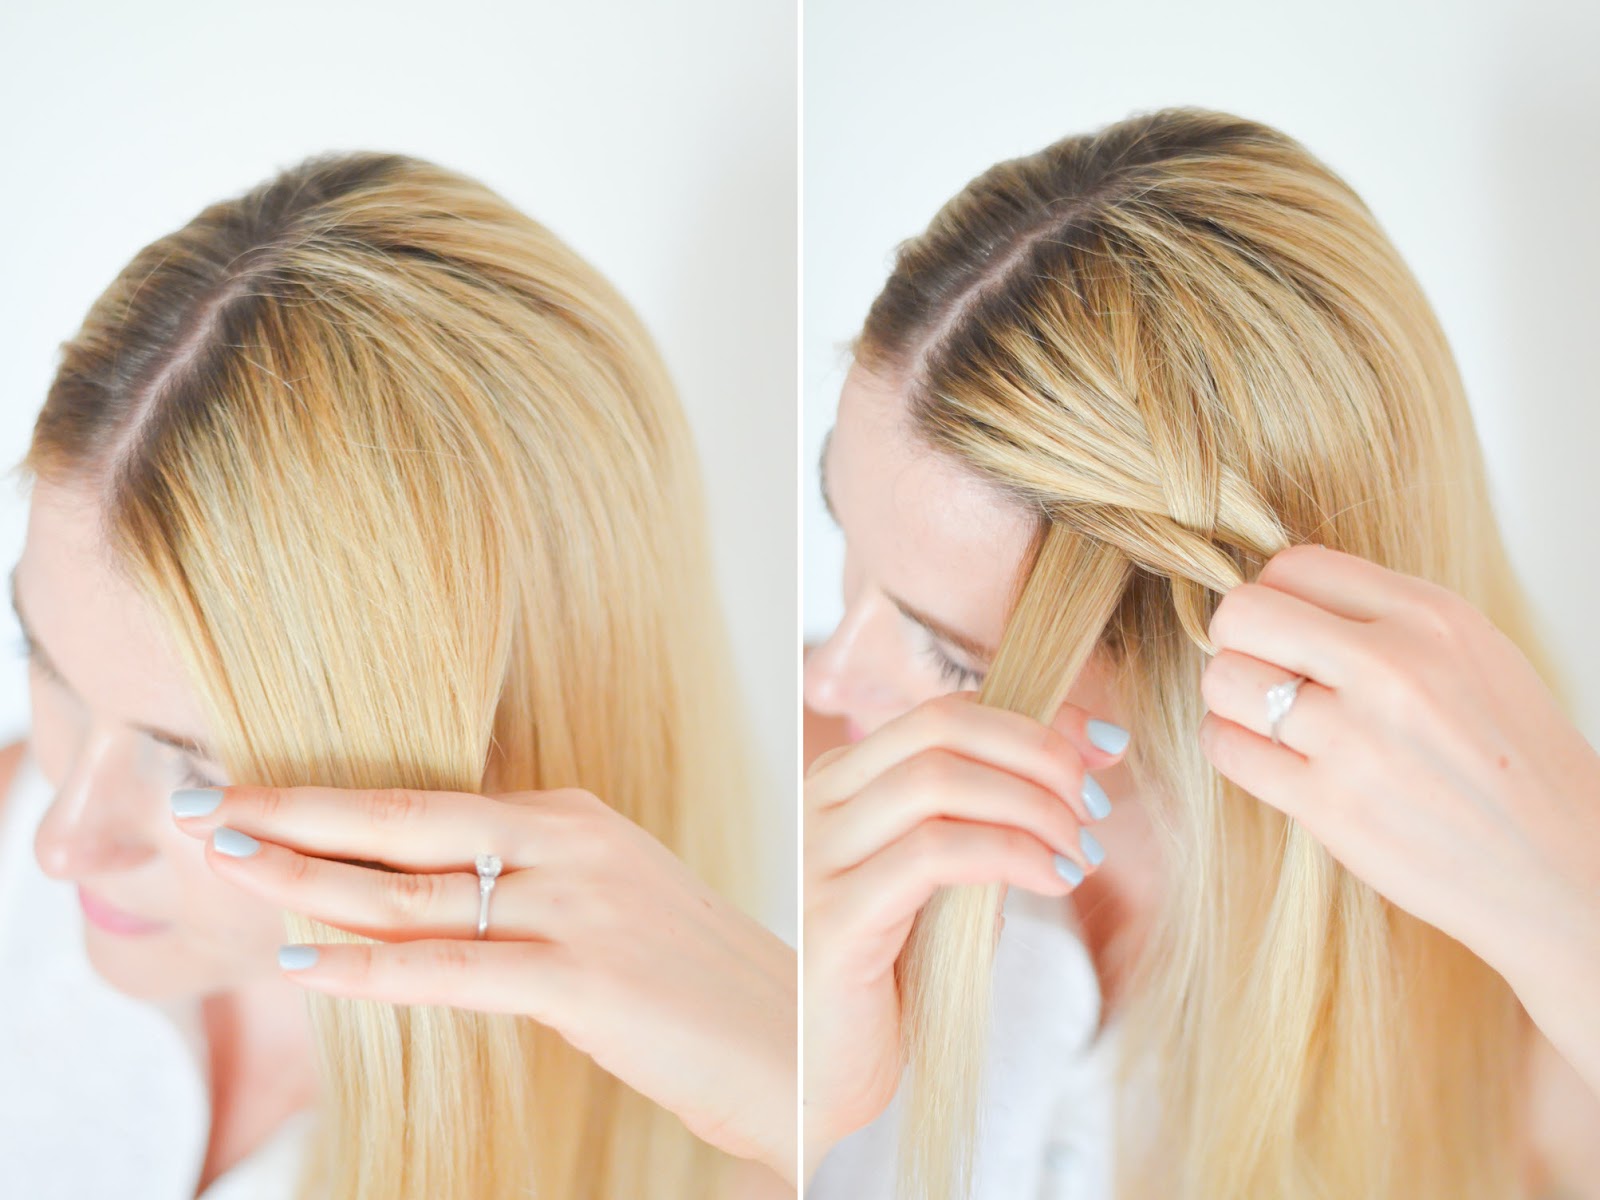
Brush hair to remove all tangles. If using dry shampoo, apply using directions on bottle. Rub anti-frizz creme between hands and fingers. I use at least two-dime sized portions to smooth hair into side gathering. Brush all hair to front of one shoulder.
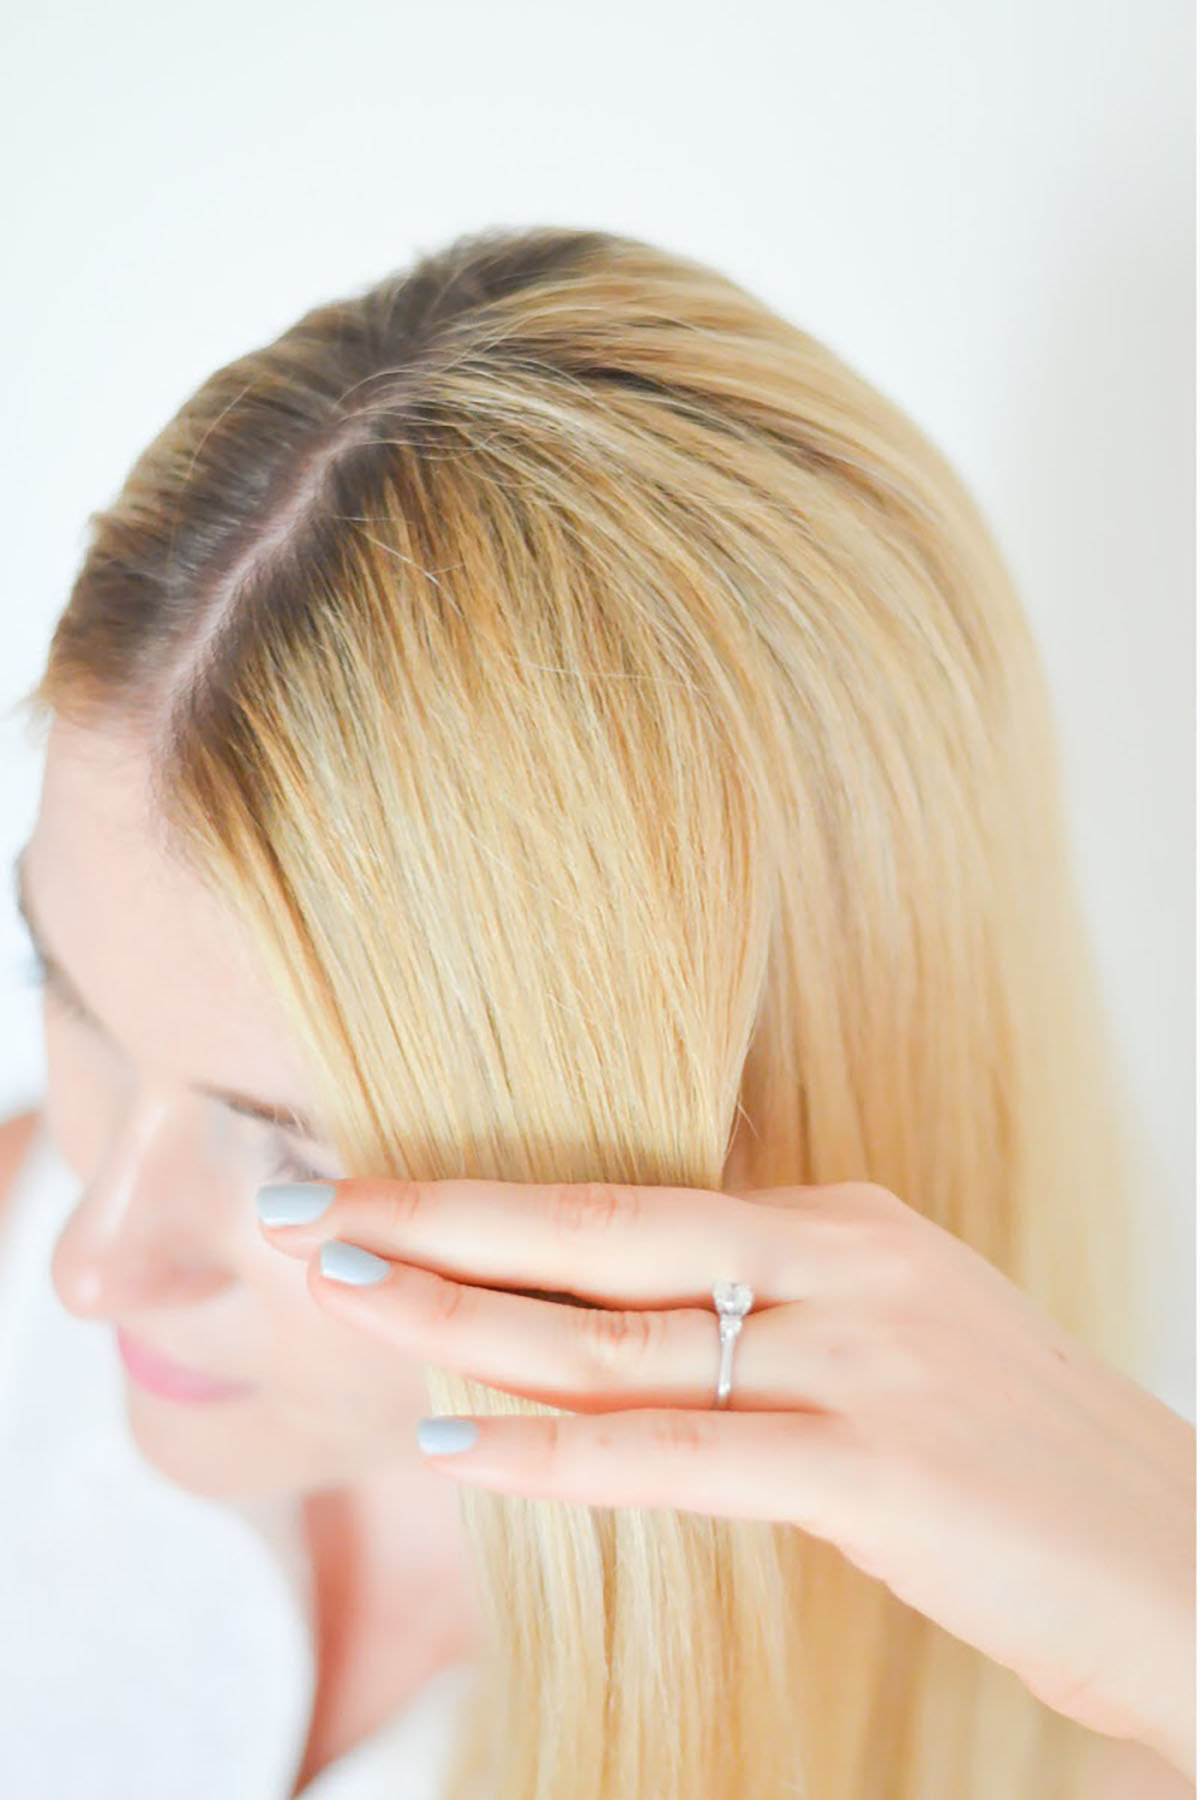
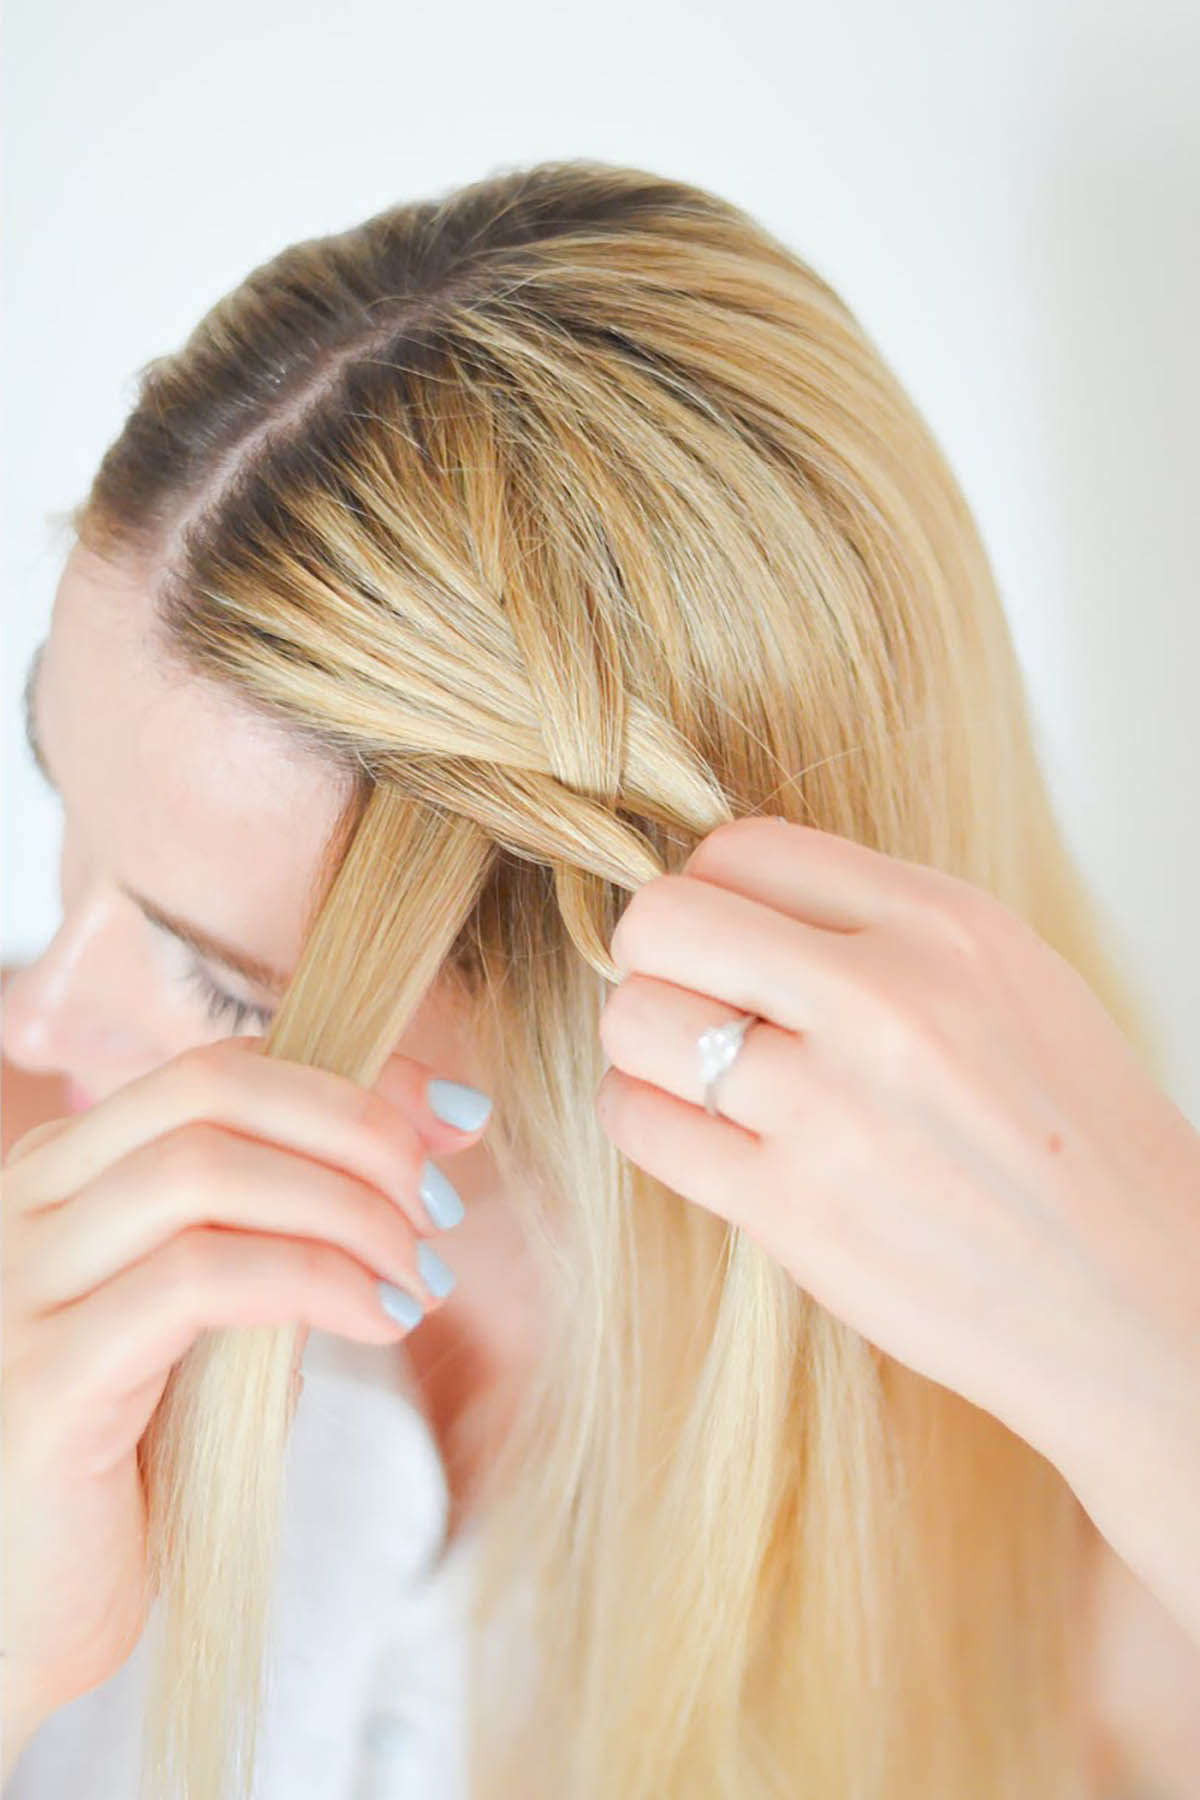
Separate a one-inch tall section of hair that extends about three inches along your part. Begin french braiding hair. Do not pull hair in from behind the braid – only along the face-line. With each addition of hair, the sections need to be bigger (see photos).
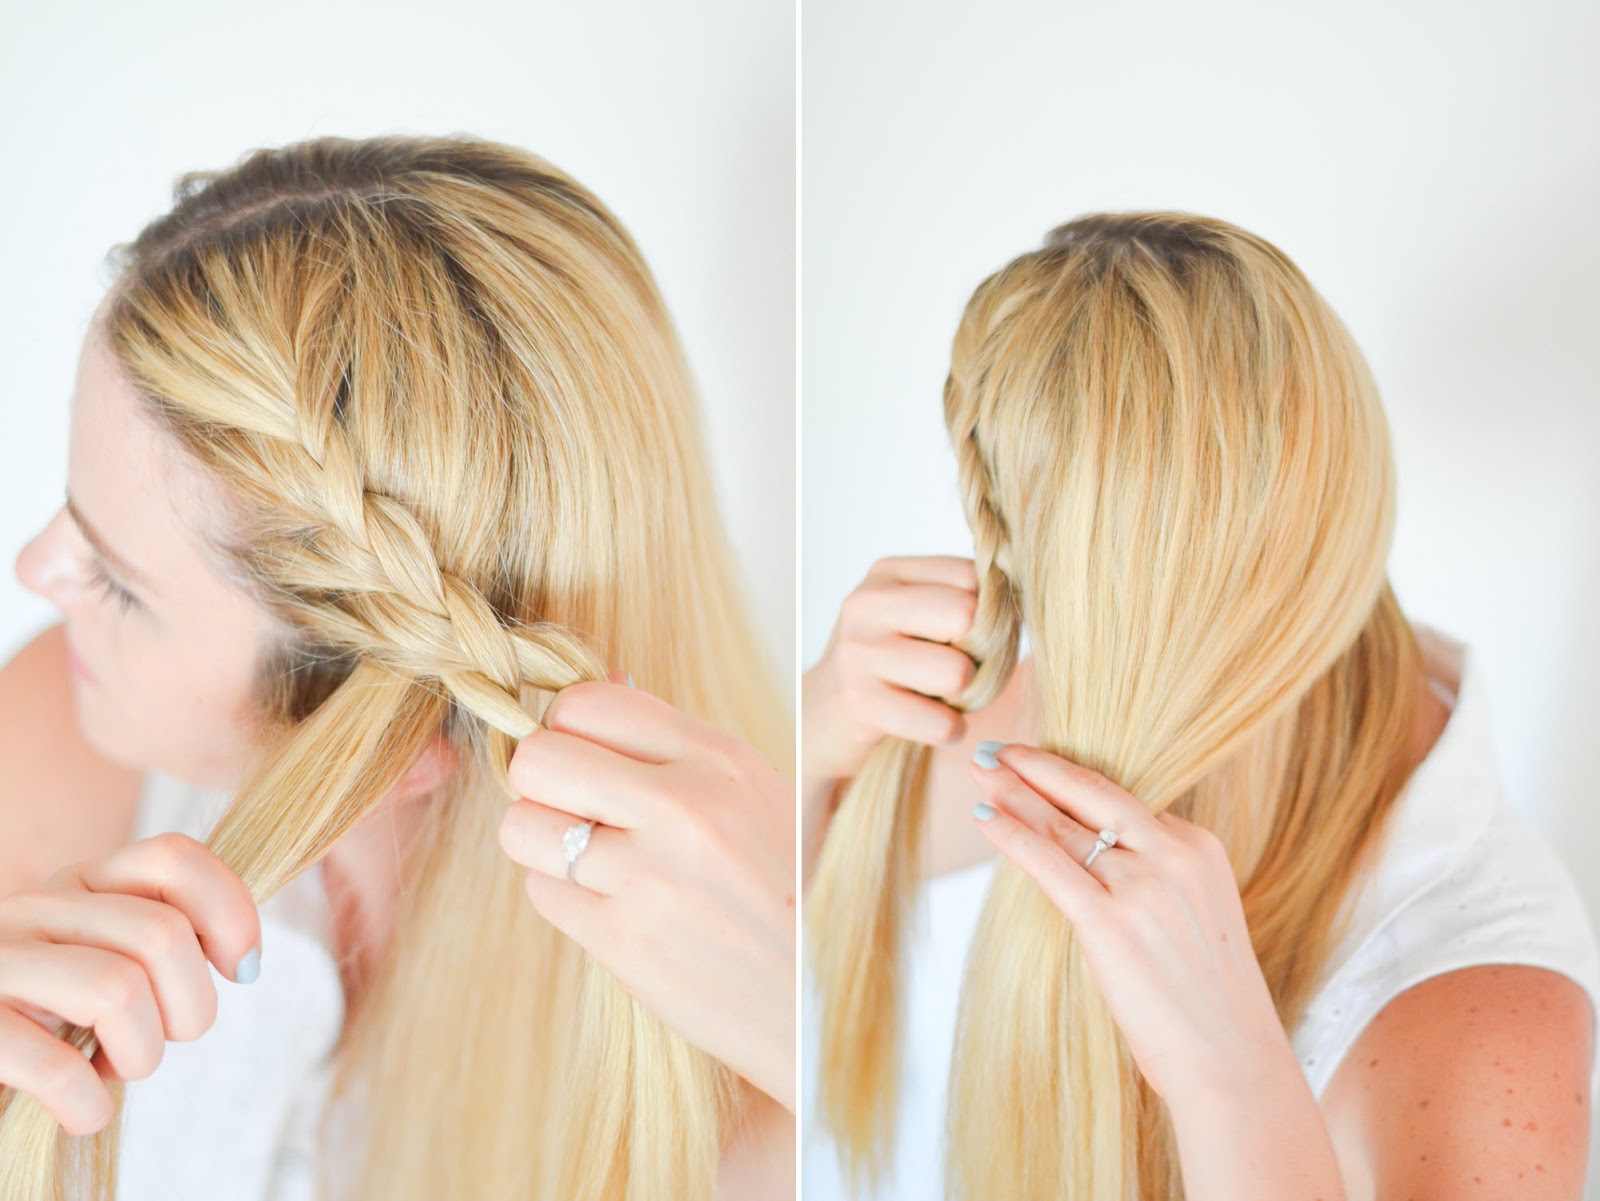
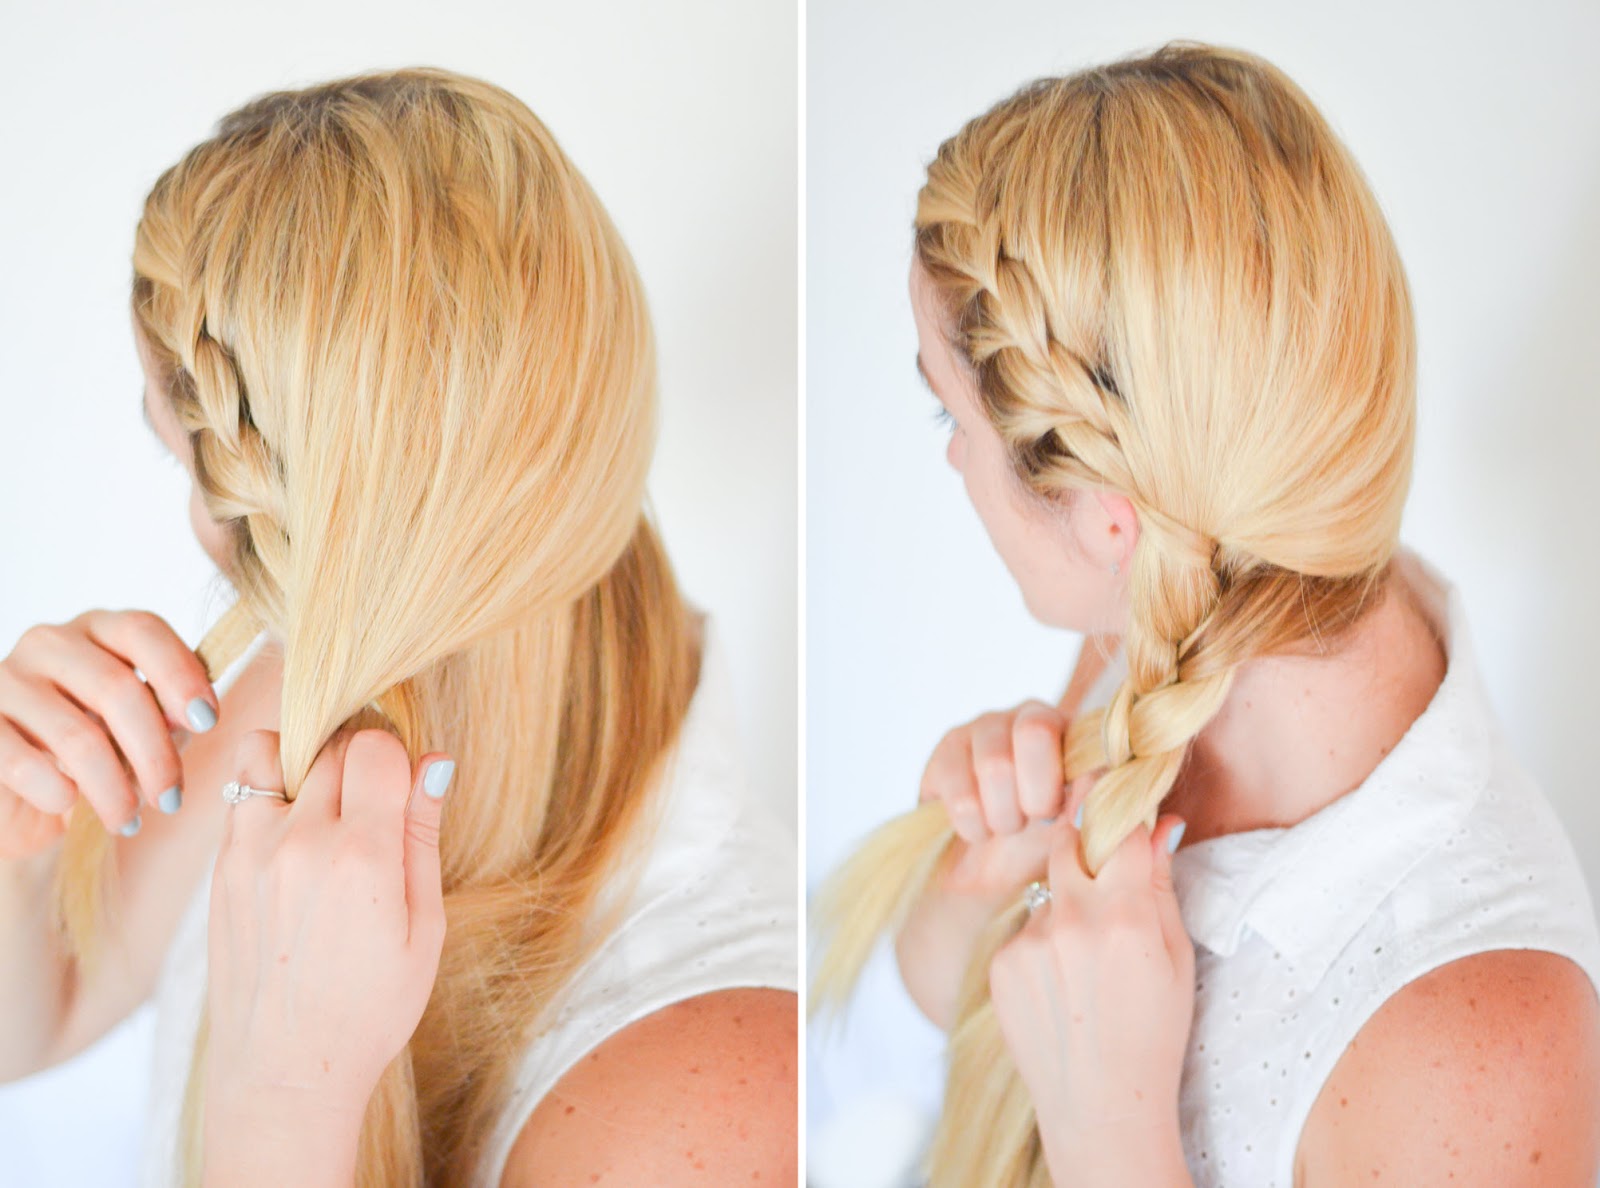
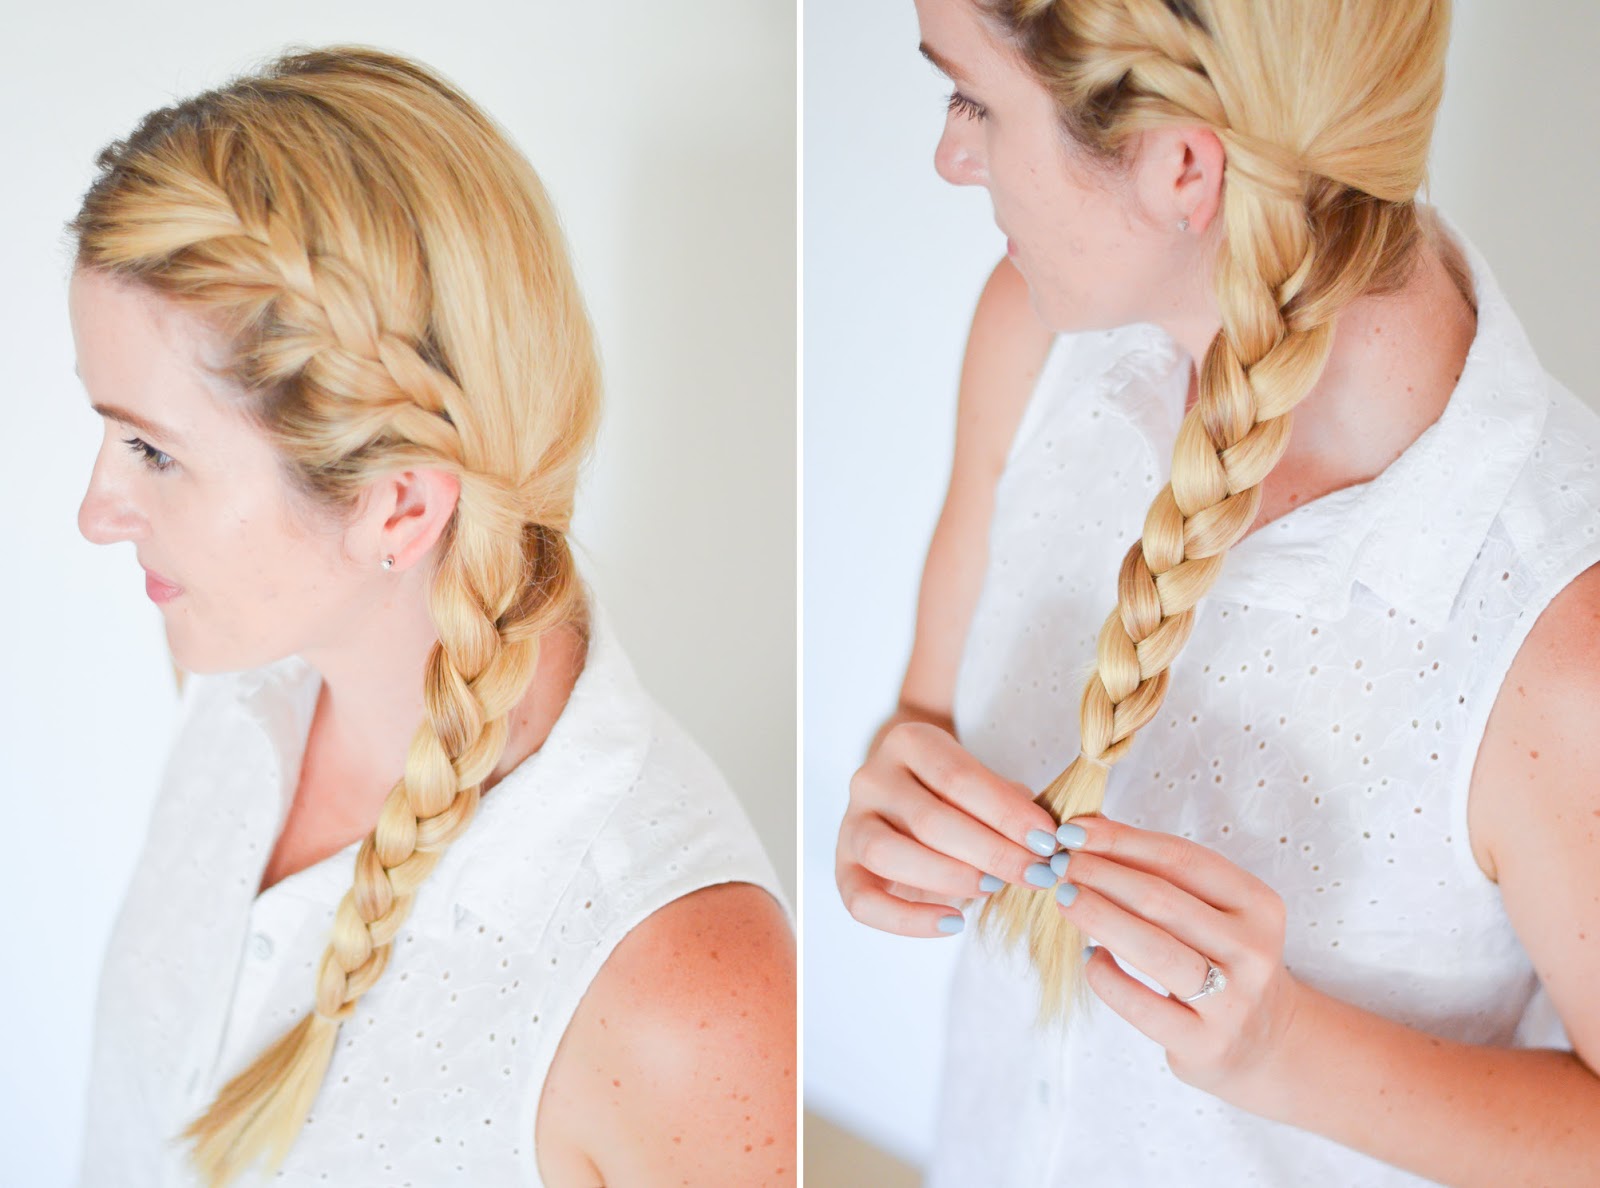
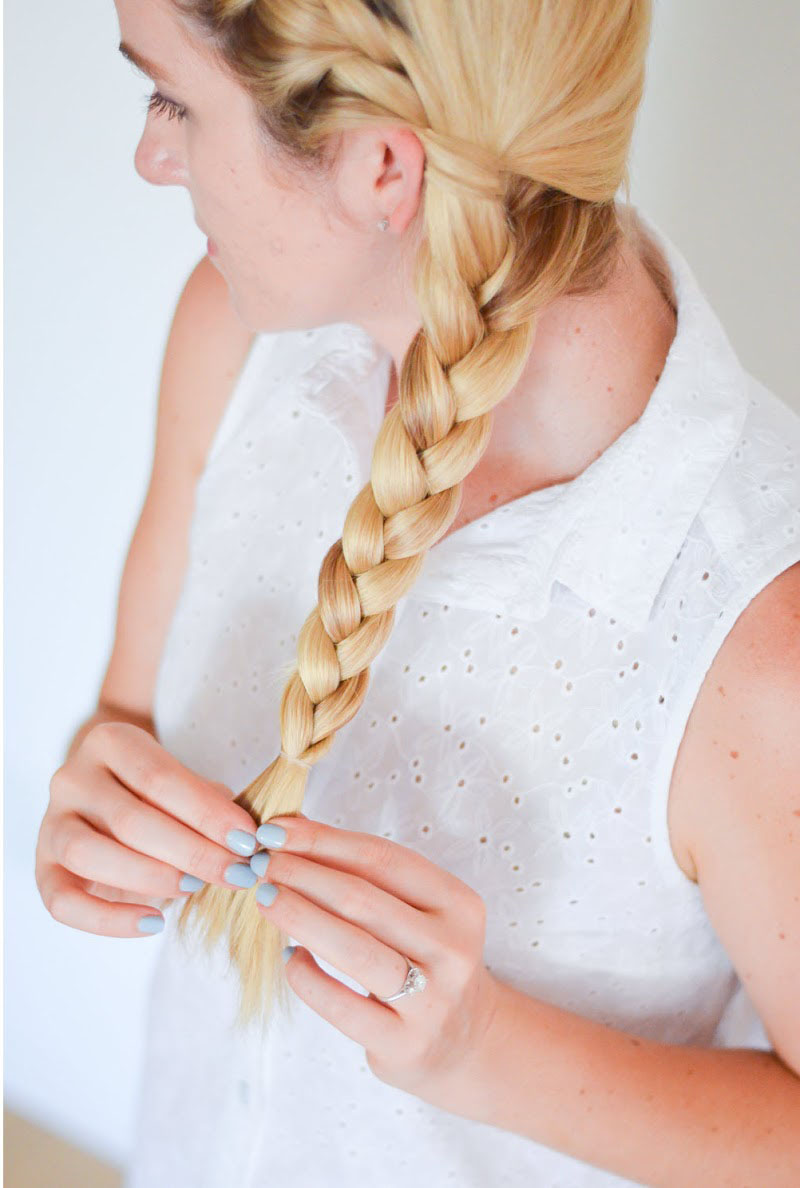
When braid reaches ear, begin pulling in hair from behind as well, until all hair is incorporated. Pull remaining hair into braid in three sections. Finish braiding hair to desired point. Secure with plastic rubber band.
Use bobby pins to secure extra hair. If necessary, rub anti-frizz creme between hands to smooth hair into side braid.
All Hairstyle Tutorials
How to Curl Hair with a Flat Iron
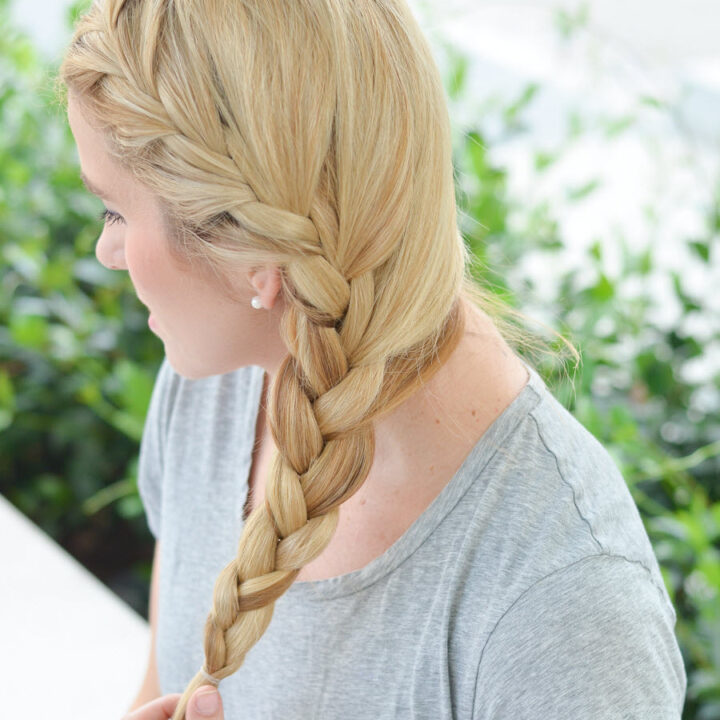
One-Sided Braid
Step-by-step photos of one-sided braid - what products to use to detailed directions with pictures of each step. A French Side Braid Tutorial.
Materials
- small elastic
- bobby pins (mini and full size)
- anti frizz serum/spray
- hair oil (optional)
Tools
- hair brush
- fine tooth comb
Instructions
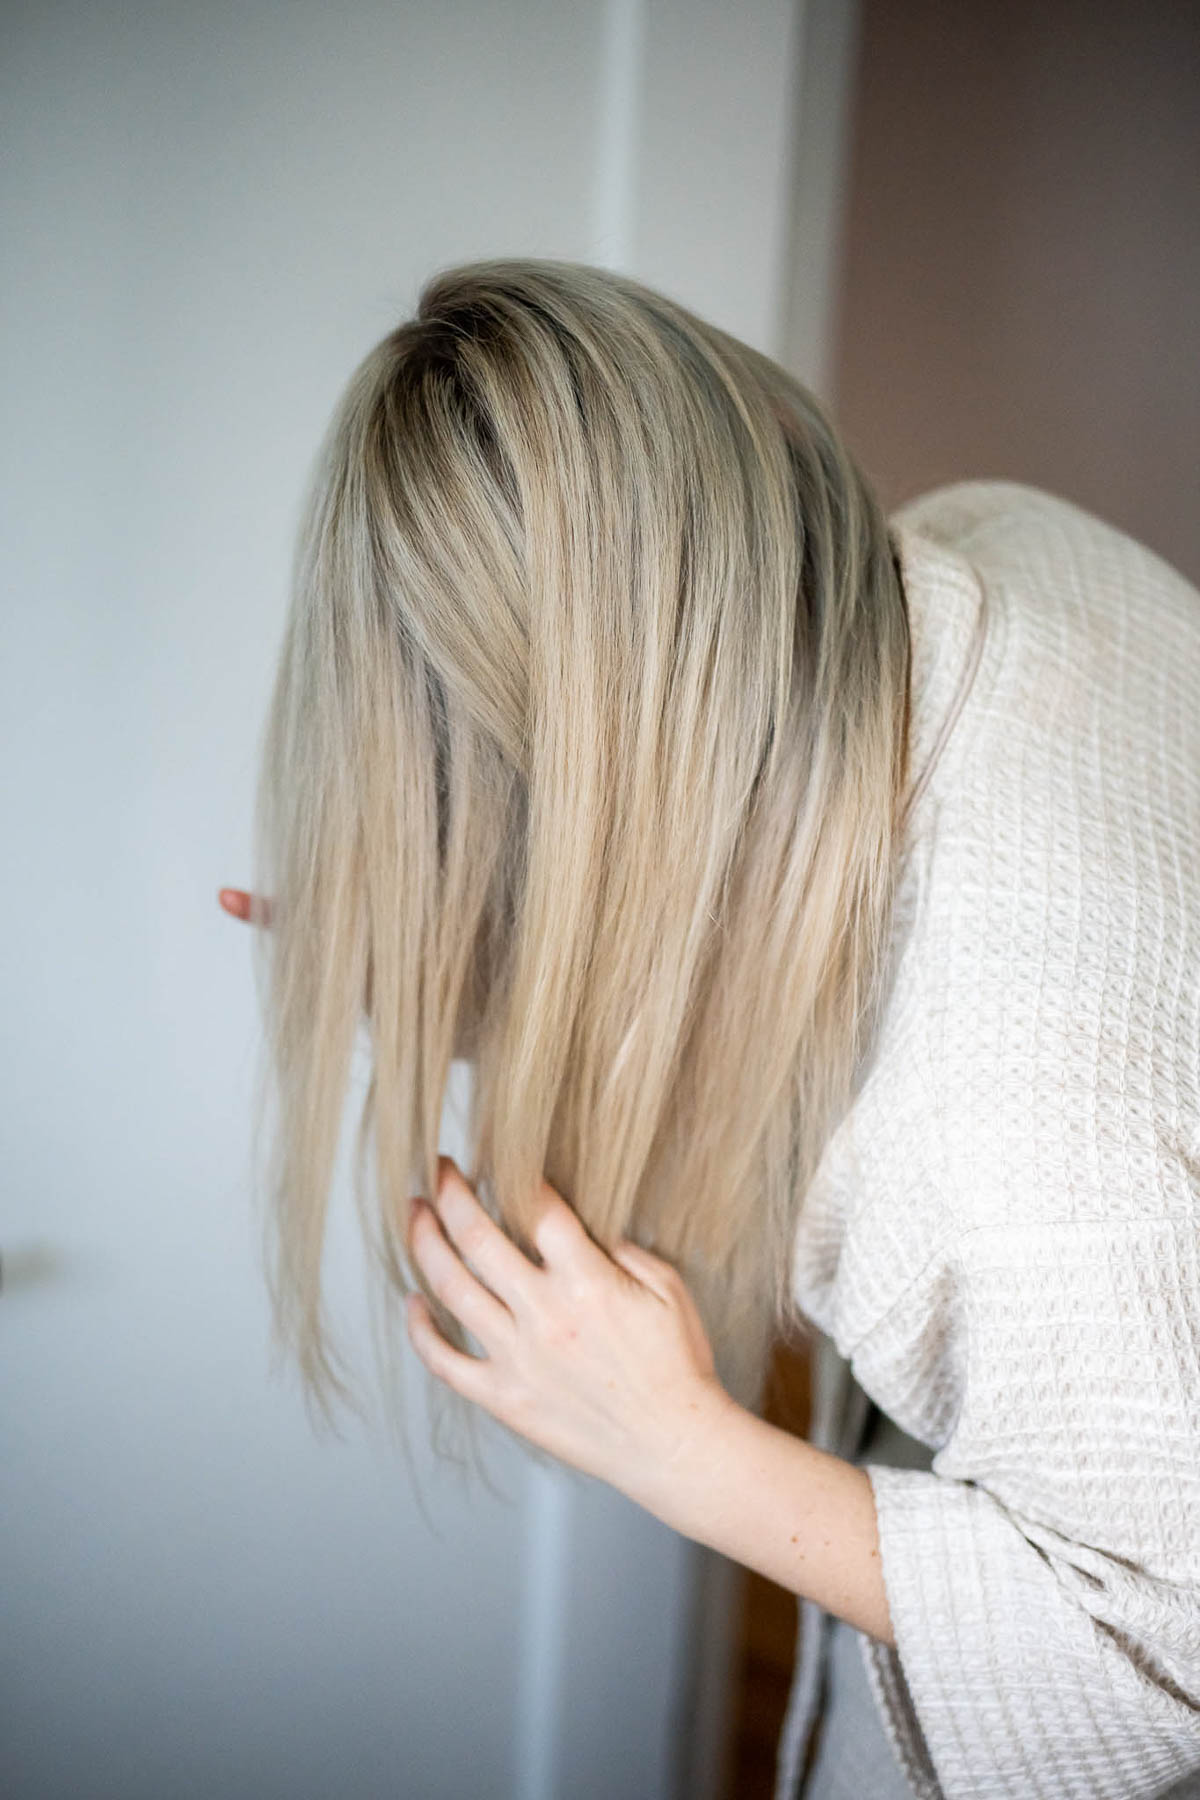
- Brush hair to remove all tangles. If using dry shampoo, apply using directions on bottle. Rub anti-frizz creme between hands and fingers. I use at least two-dime sized portions to smooth hair into side gathering. Brush all hair to front of one shoulder.

- Separate a one-inch tall section of hair that extends about three inches along your part.
- Begin french braiding hair. Do not pull hair in from behind the braid - only along the face-line. With each addition of hair, the sections need to be bigger.

- When braid reaches ear, begin pulling in hair from behind as well, until all hair is incorporated.
- Pull remaining hair into braid in three sections. Finish braiding hair to desired point. Secure with plastic rubber band.

- Use bobby pins to secure extra hair. If necessary, rub anti-frizz creme between hands to smooth hair into side braid.

 /div>
/div>