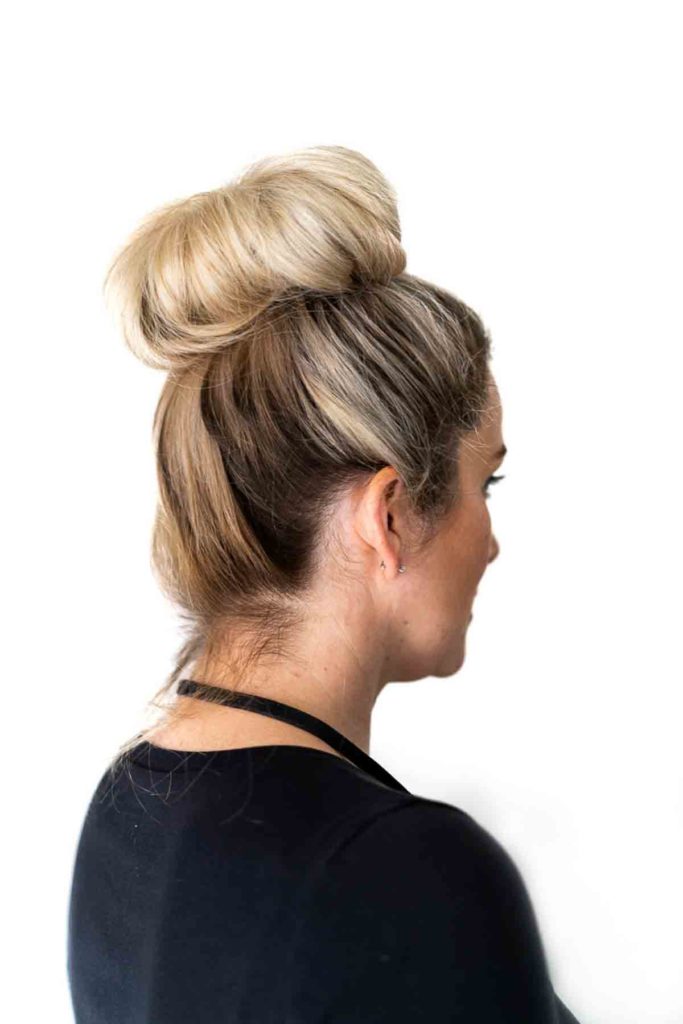
How To: Sock Bun Tutorial
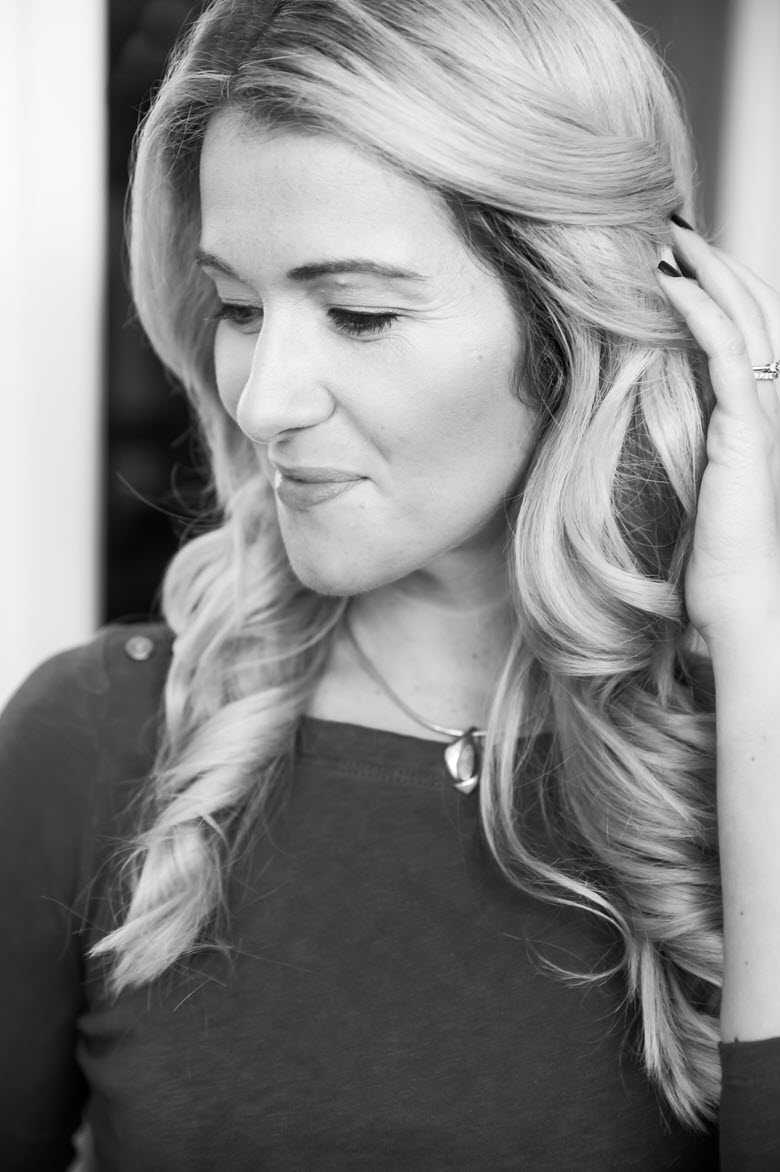
After a number of requests for a sock bun tutorial, I finally got one together. From what I can tell, you don’t have to have long hair or thick hair to have an amazing sock bun. Because my hair is so thick, however, this is the only sock bun method that works for me with the result I want!
The finesse of making a good sock bun is to practice with your fingers and know that it will come together. The combination of bobby pins, strong hairspray, and a headband also help a lot.
CONTENTS
Sock Bun Tutorial
This hairstyle is called a sock bun because you can use a sock as your ‘bun maker.’ Many stores sell pre-formed options, however.
I hope these pictures and my tips help you to make your own sock bun – some of the steps were a) difficult to photograph, b) difficult to explain, and (most often) c) difficult to photograph and explain. Please don’t hesitate to ask any questions!
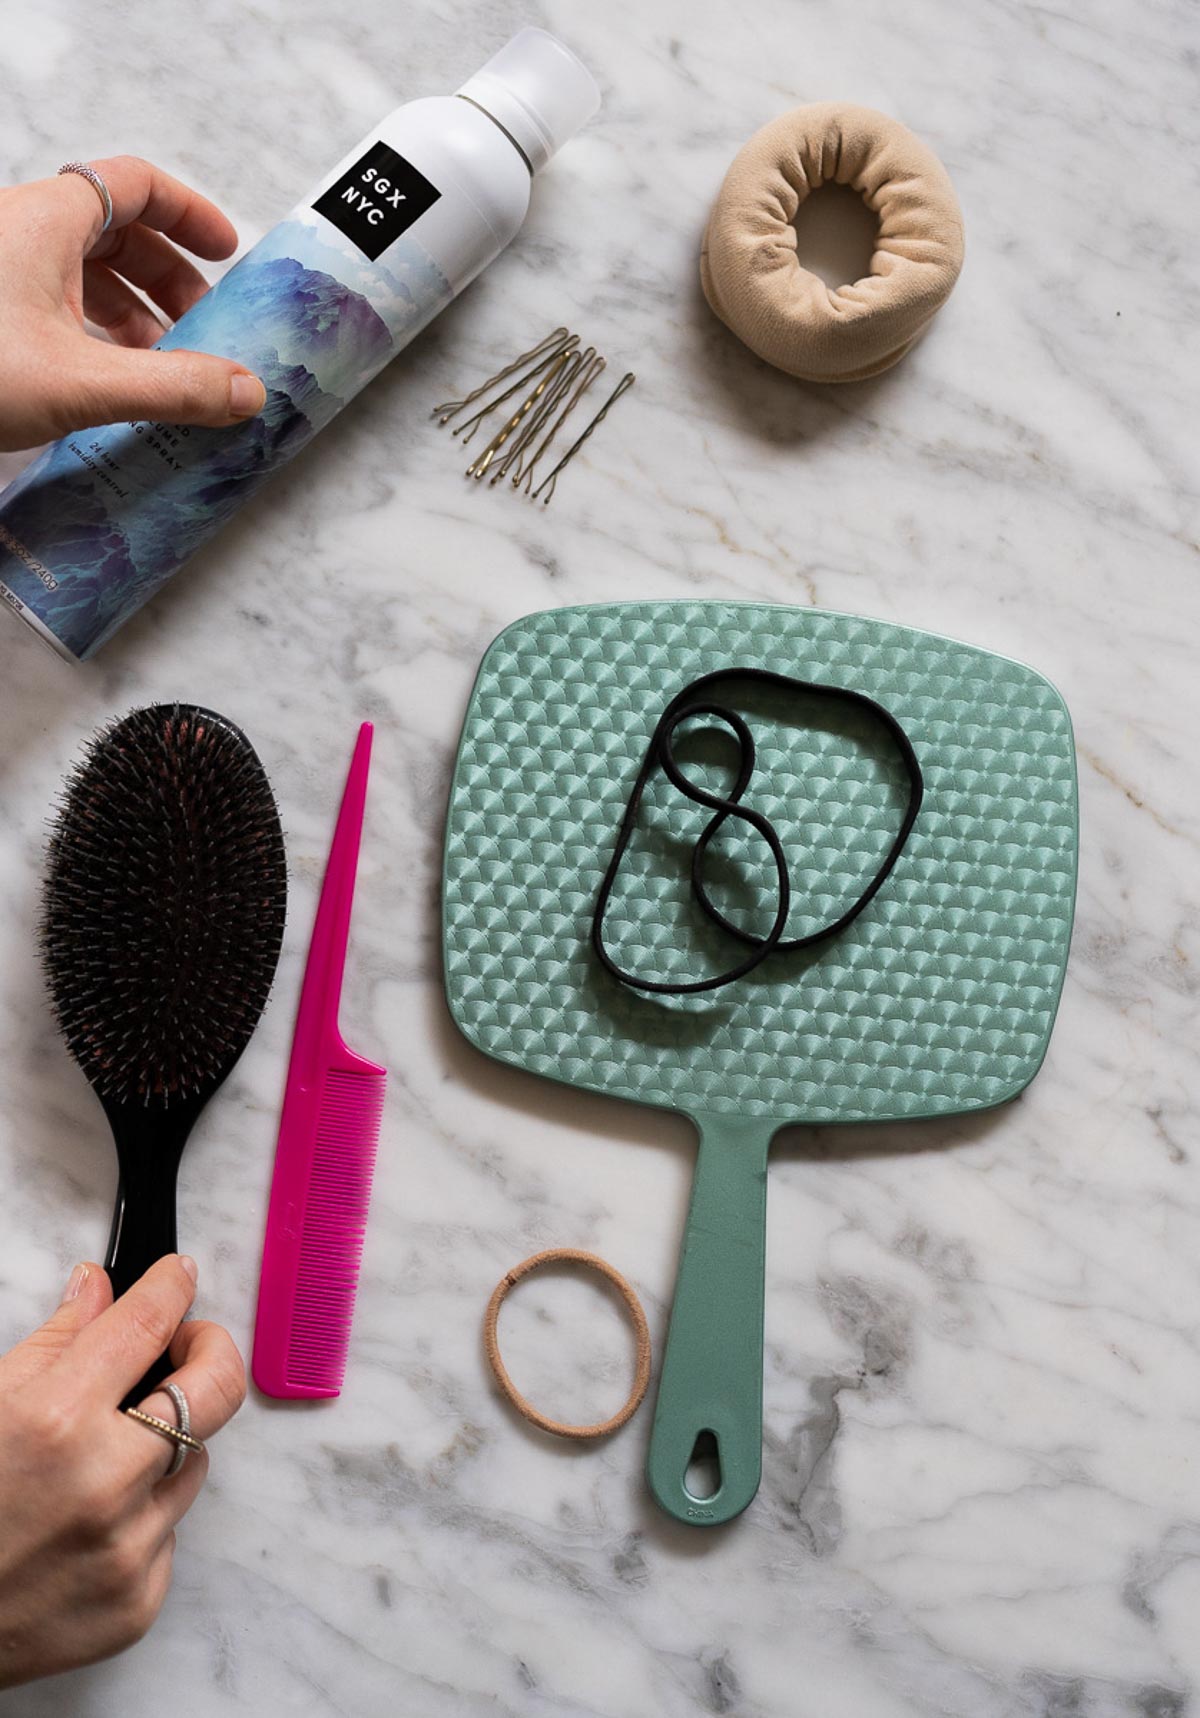
What You Need for a Sock Bun
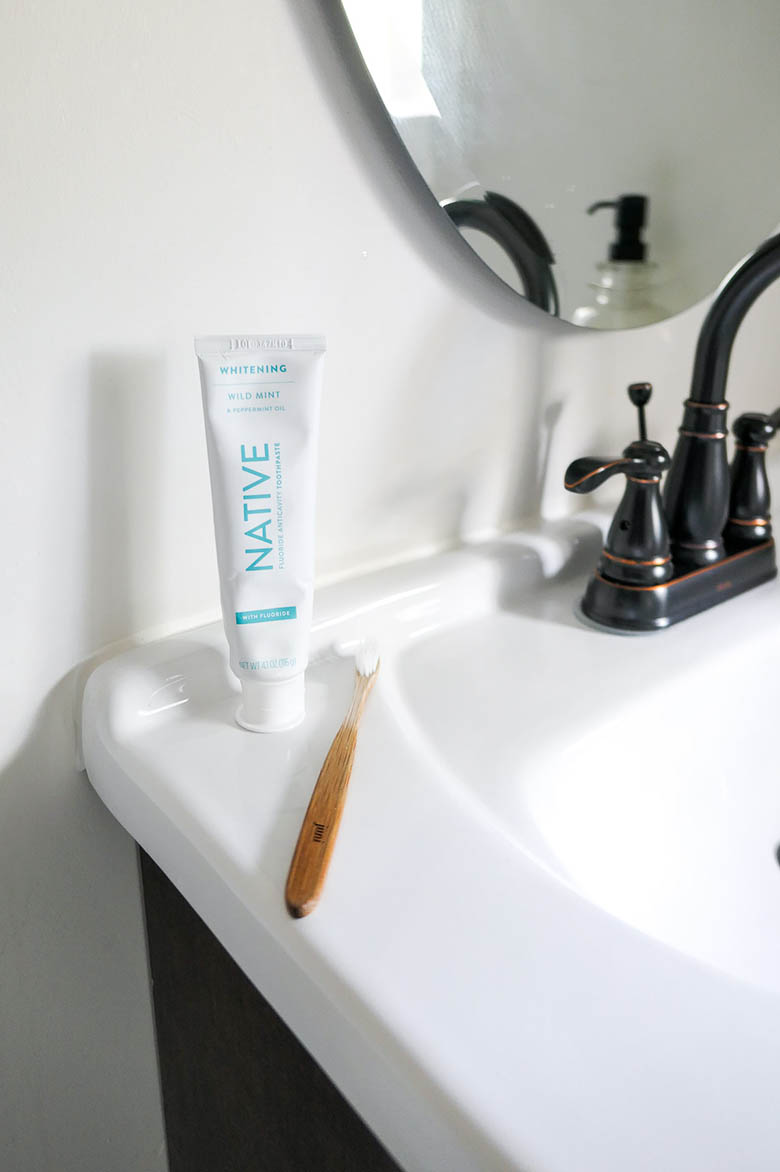
brush, fine tooth comb, hair tie, bobby pins*, bun maker*, headband (the style doesn’t matter), hairspray, molding wax, handheld mirror. You can also use anti-frizz spray to help with flyaways.
*It’s very important that your bun maker and your bobby pins match the color of your hair (roughly). Blondes should use a white or nude color bun maker/sock with gold pins. If you have darker hair, use a black or brown bun maker and pins.
I made my own bun maker with two thin trouser socks. Place one sock inside the other. Cut out the toes. Carefully roll the socks together until no extra material remains. Voila!


1. Brush hair to remove all tangles. Hair doesn’t need to be heat-styled straight for this to work. I put my headband around my neck, so that I’m not stretching it around my bun later.
note: if you want to use anti-frizz spray, you can apply it now before you start styling your hair or you can wait toward the end – see below for details. You can also easily apply a hair oil for some extra shine!
2. Brush hair into a high ponytail. Use a fine tooth comb to remove all bumps on your head.
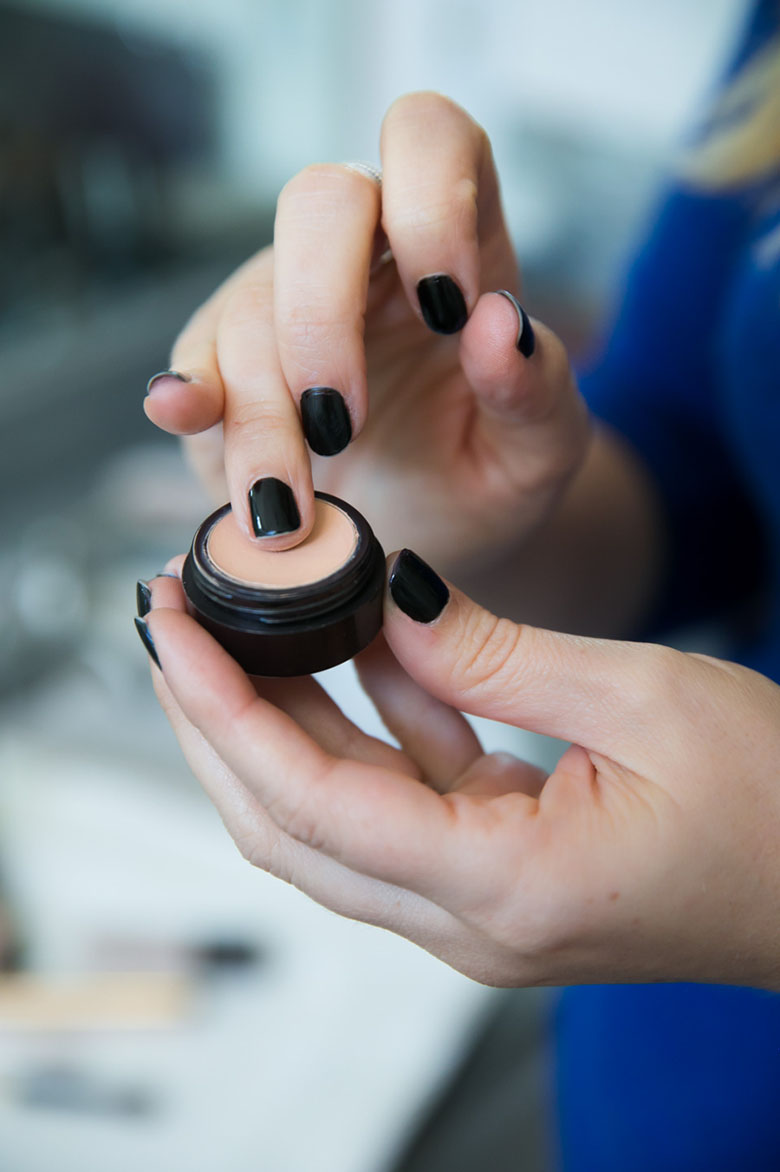
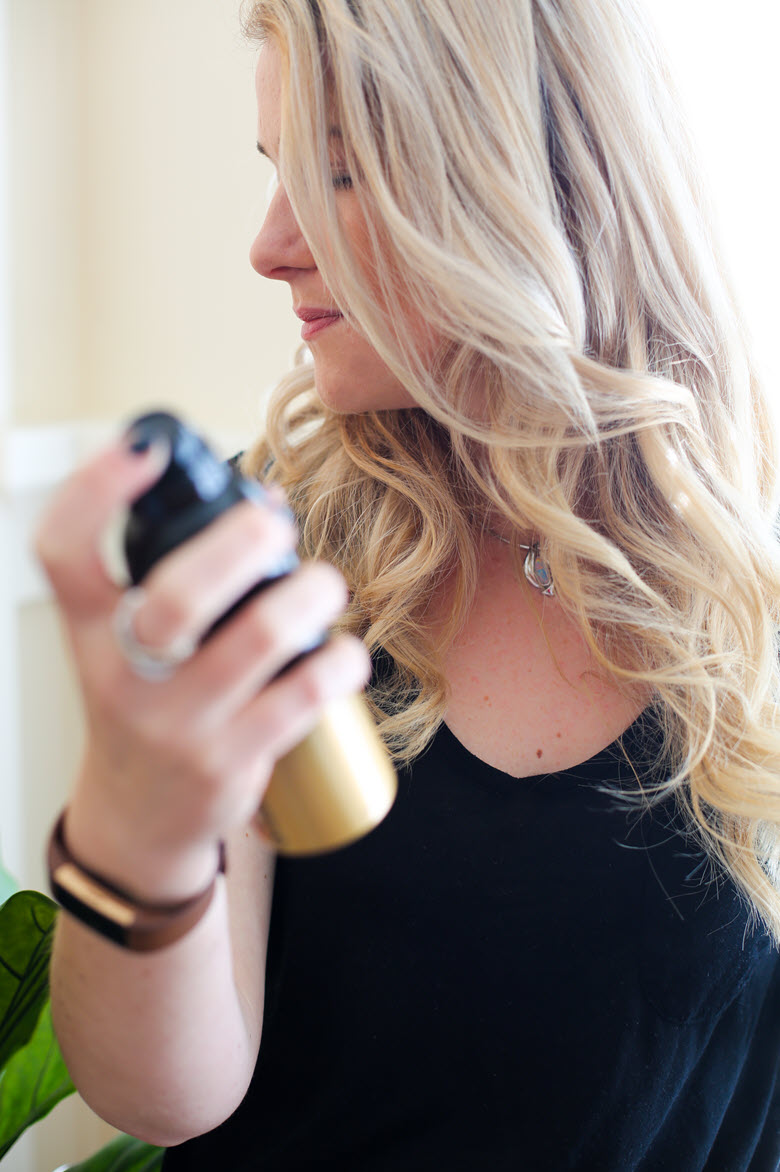
3. Use molding wax and hair spray to remove as many flyaways as possible. For hairspray, aim nozzle at hair and spray. Use fingertips and your palm to smooth hair back. Then spray ponytail with hairspray from top to bottom with an extra spritz at the tip.
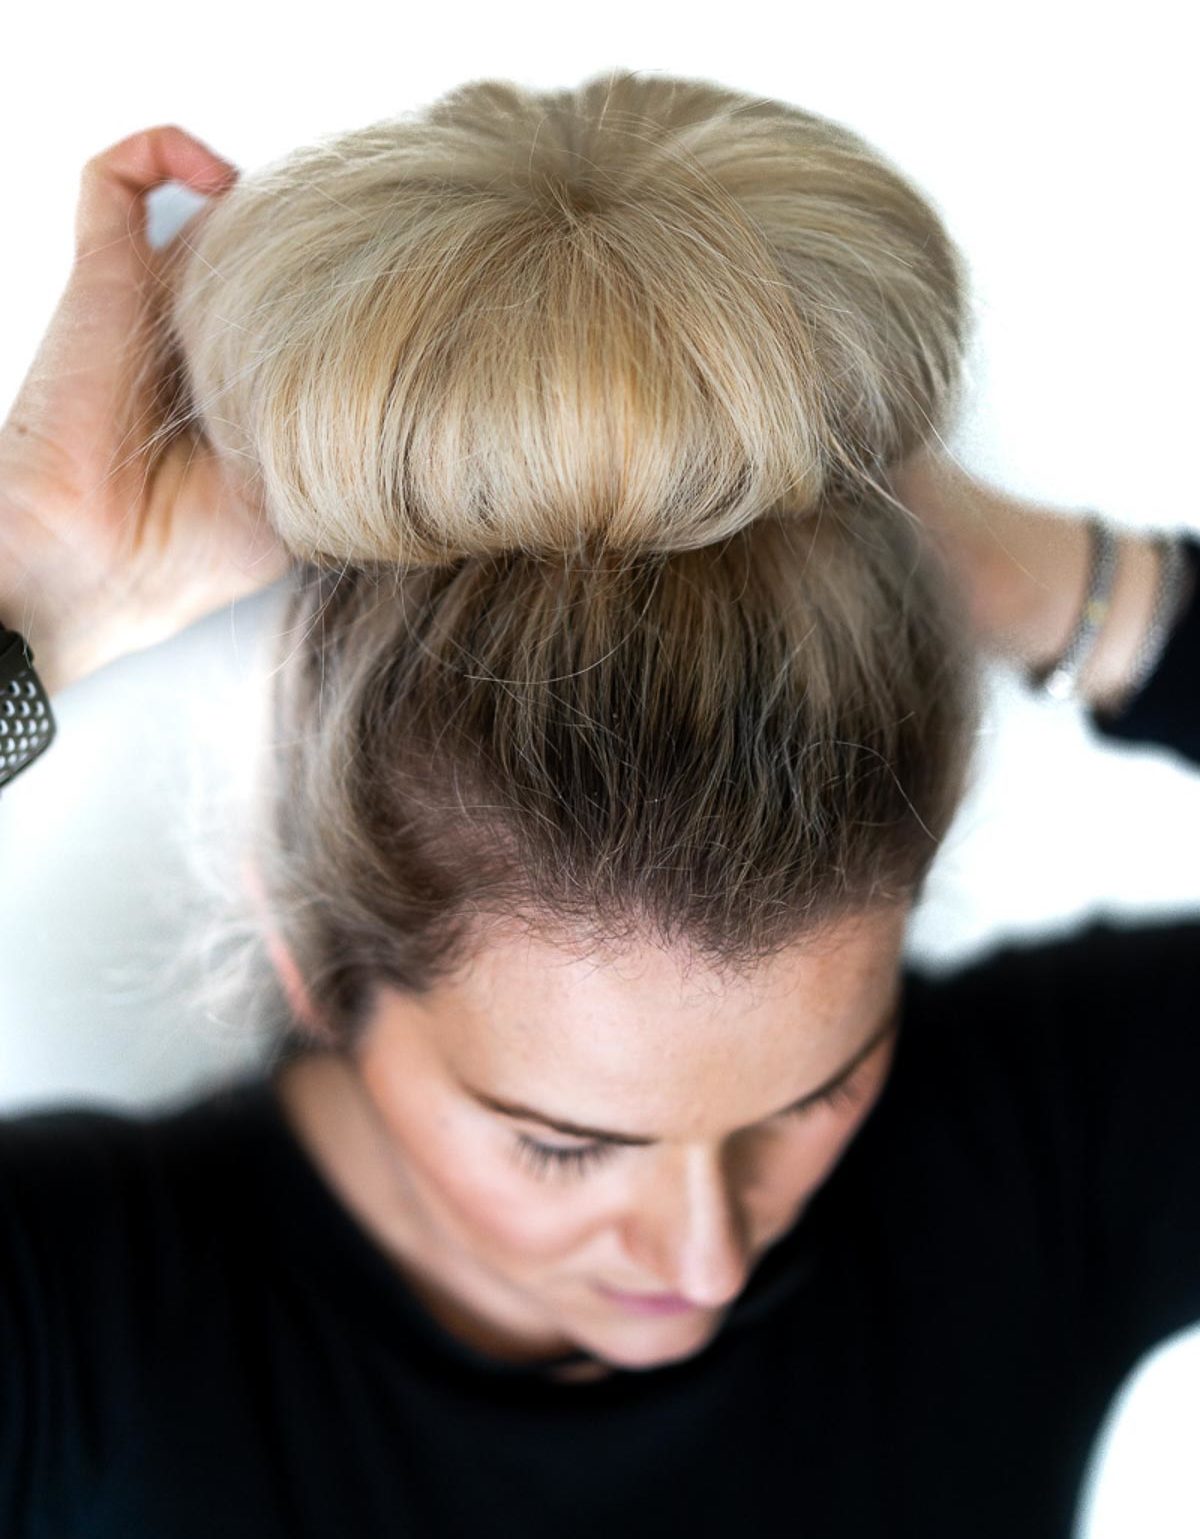
4. Place bun maker at root of ponytail.


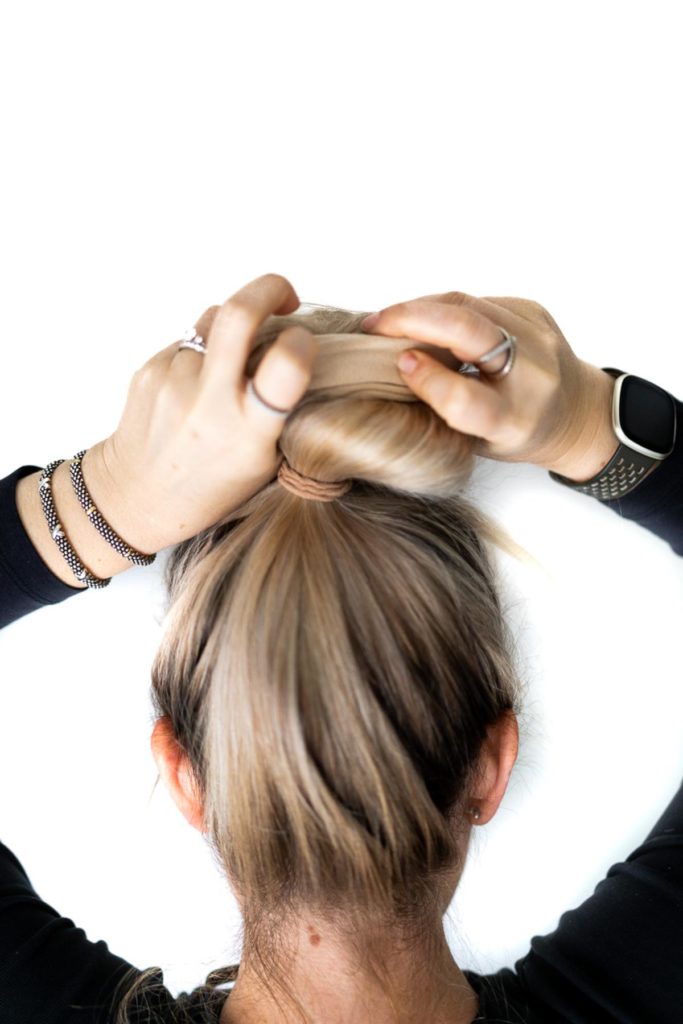


5. Gather ponytail in your hand and pull hair up and away from your head (roughly 45 degrees down from straight up). Carefully slide bun maker to 1-2 inches from tip of hair. Wrap remaining inches of hair around bun maker.
6. Slowly, work your way down your ponytail, toward your scalp, rolling the bun maker from the middle out with your fingers. Much of your hair will fold around the sock nicely. Gather and tuck remaining hair as you work your way down. Don’t worry too much about getting your hair all the way around the sock.
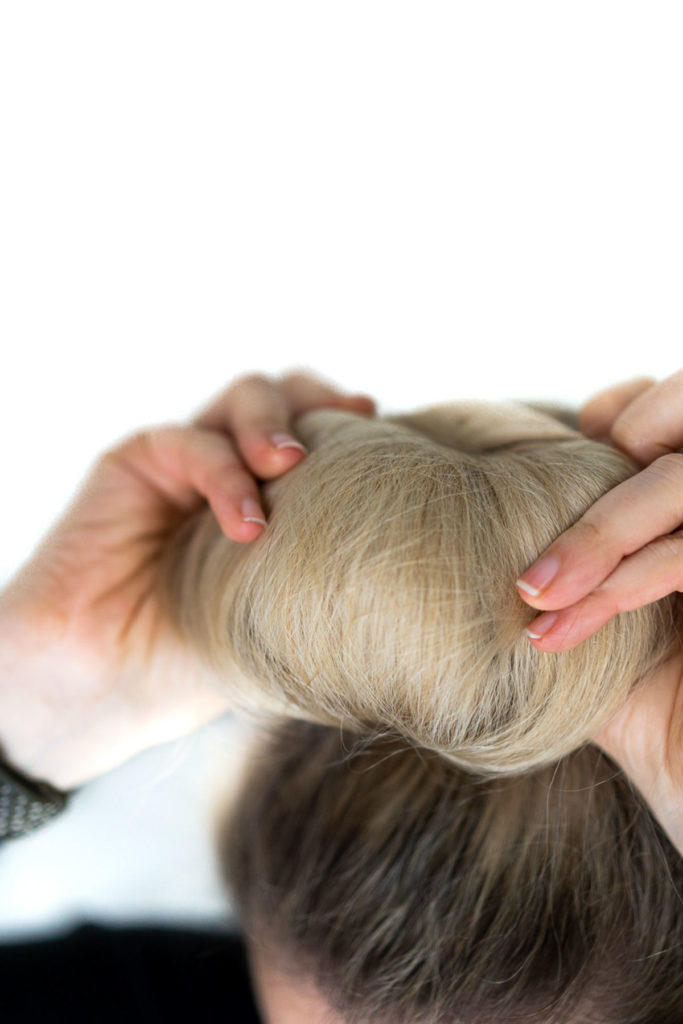

7. When ponytail is rolled around the sock, give it another twist out to make sure it’s tight.
8. Fill in your sock bun by gently moving hair slowly around to empty spots.
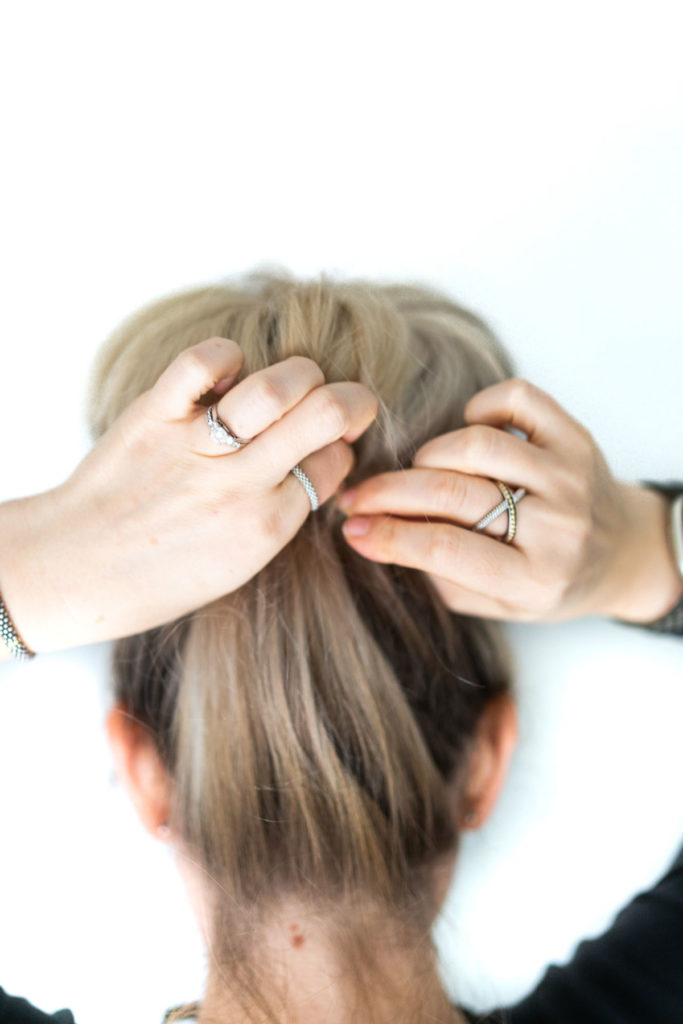
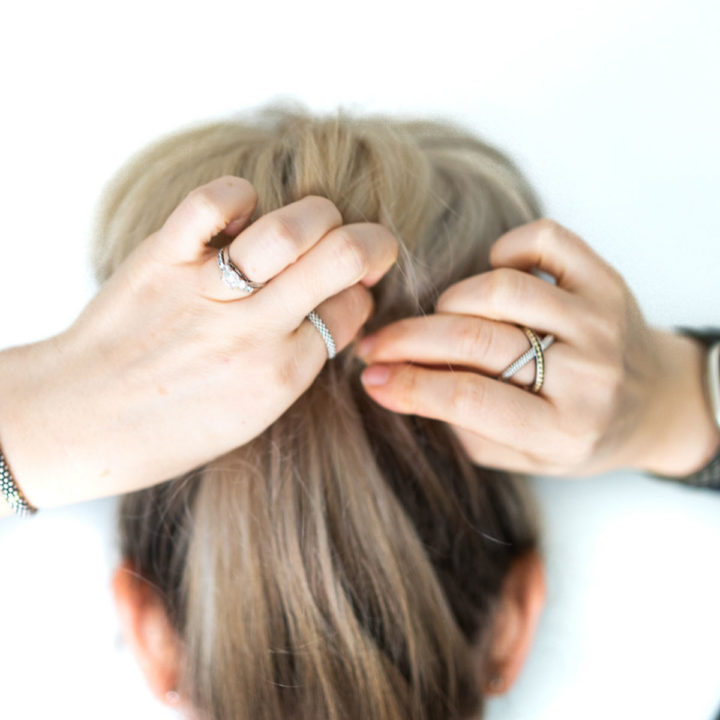
9. Use bobby pins to secure loose hairs. Bobby pins help secure the bun too, so tuck a few into any spots that feel weak.
note: you can also use anti-frizz spray here to help with the hair going back into the bun (along your scalp)
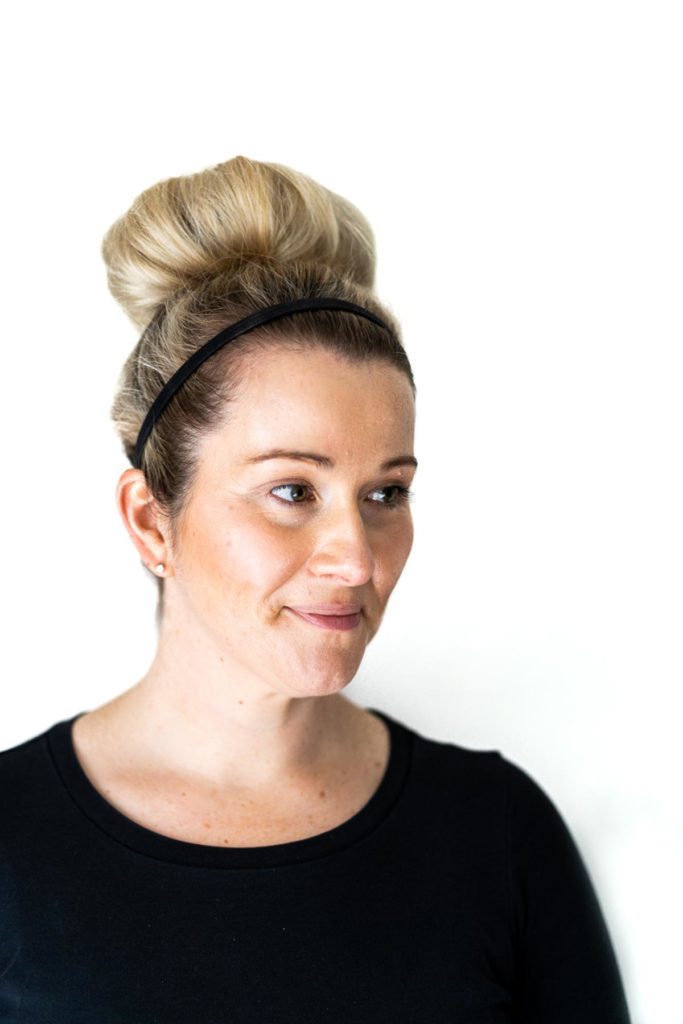
10. Spray any flyaways that came loose. Put headband on. If you have troublesome flyaways, tuck them under the headband.
Check out these hair, skincare, and makeup tutorials and recommendations.
Since clean beauty is an important part of sustainable living (what we wash down the drain matters as much as what we put on our skin), be sure to check out these other clean beauty roundups:
Non Toxic Makeup Brands
Clean Beauty at Nordstrom
Clean Beauty at Sephora
Clean Beauty at Target
Clean Beauty at Walmart
Clean Beauty at ULTA
Best Beautycounter Products
Common questions include do shampoo bars really work and how do you use them? What natural deodorant actually works? What’s the best safety razor for women (and how to use them properly). And the best makeup brush cleaner (on the cheap and easy)!
There are also great clean skin & hair care products for men!
And you’ll want to check out these wonderful clean beauty bar soaps as well as body tools for smooth skin all over yourself!
For itchy or flaky scalps, check out this clean scalp care lineup!
All Hairstyle Tutorials
How to Curl Hair with a Flat Iron
One-Sided French Braid Tutorial
Innersense hair product reviews
Photography by Sacramento Photographer Val Leddy
How To: Sock Bun Tutorial
Learn how to do a sock bun with your hair for a classic, beautiful hairdo anyone can do!
Materials
- Hairspray
- Molding Wax
Tools
- Brush
- Fine Tooth Comb
- Sock Bun Maker (Store Bought or DIY)
- Hair Tie
- Bobby Pins
Instructions
 Brush hair to remove all tangles. Hair doesn’t need to be heat-styled straight for this to work. I put my headband around my neck, so that I’m not stretching it around my bun later.
- Brush hair into a high ponytail. Use a fine tooth comb to remove all bumps on your head.
- Use molding wax and hair spray to remove as many flyaways as possible. For hairspray, aim nozzle at hair and spray. Use fingertips and your palm to smooth hair back. Then spray ponytail with hairspray from top to bottom with an extra spritz at the tip.
- Place bun maker at root of ponytail.
- Gather ponytail in your hand and pull hair up and away from your head (roughly 45 degrees down from straight up). Carefully slide bun maker to 1-2 inches from tip of hair. Wrap remaining inches of hair around bun maker.
- Slowly, work your way down your ponytail, toward your scalp, rolling the bun maker from the middle out with your fingers. Much of your hair will fold around the sock nicely. Gather and tuck remaining hair as you work your way down. Don’t worry too much about getting your hair all the way around the sock.
- When ponytail is rolled around the sock, give it another twist out to make sure it’s tight.
- Fill in your sock bun by gently moving hair slowly around to empty spots.
- Use bobby pins to secure loose hairs. Bobby pins help secure the bun too, so tuck a few into any spots that feel weak.
- Spray any flyaways that came loose. Put headband on. If you have troublesome flyaways, tuck them under the headband.
 Brush hair to remove all tangles. Hair doesn’t need to be heat-styled straight for this to work. I put my headband around my neck, so that I’m not stretching it around my bun later.
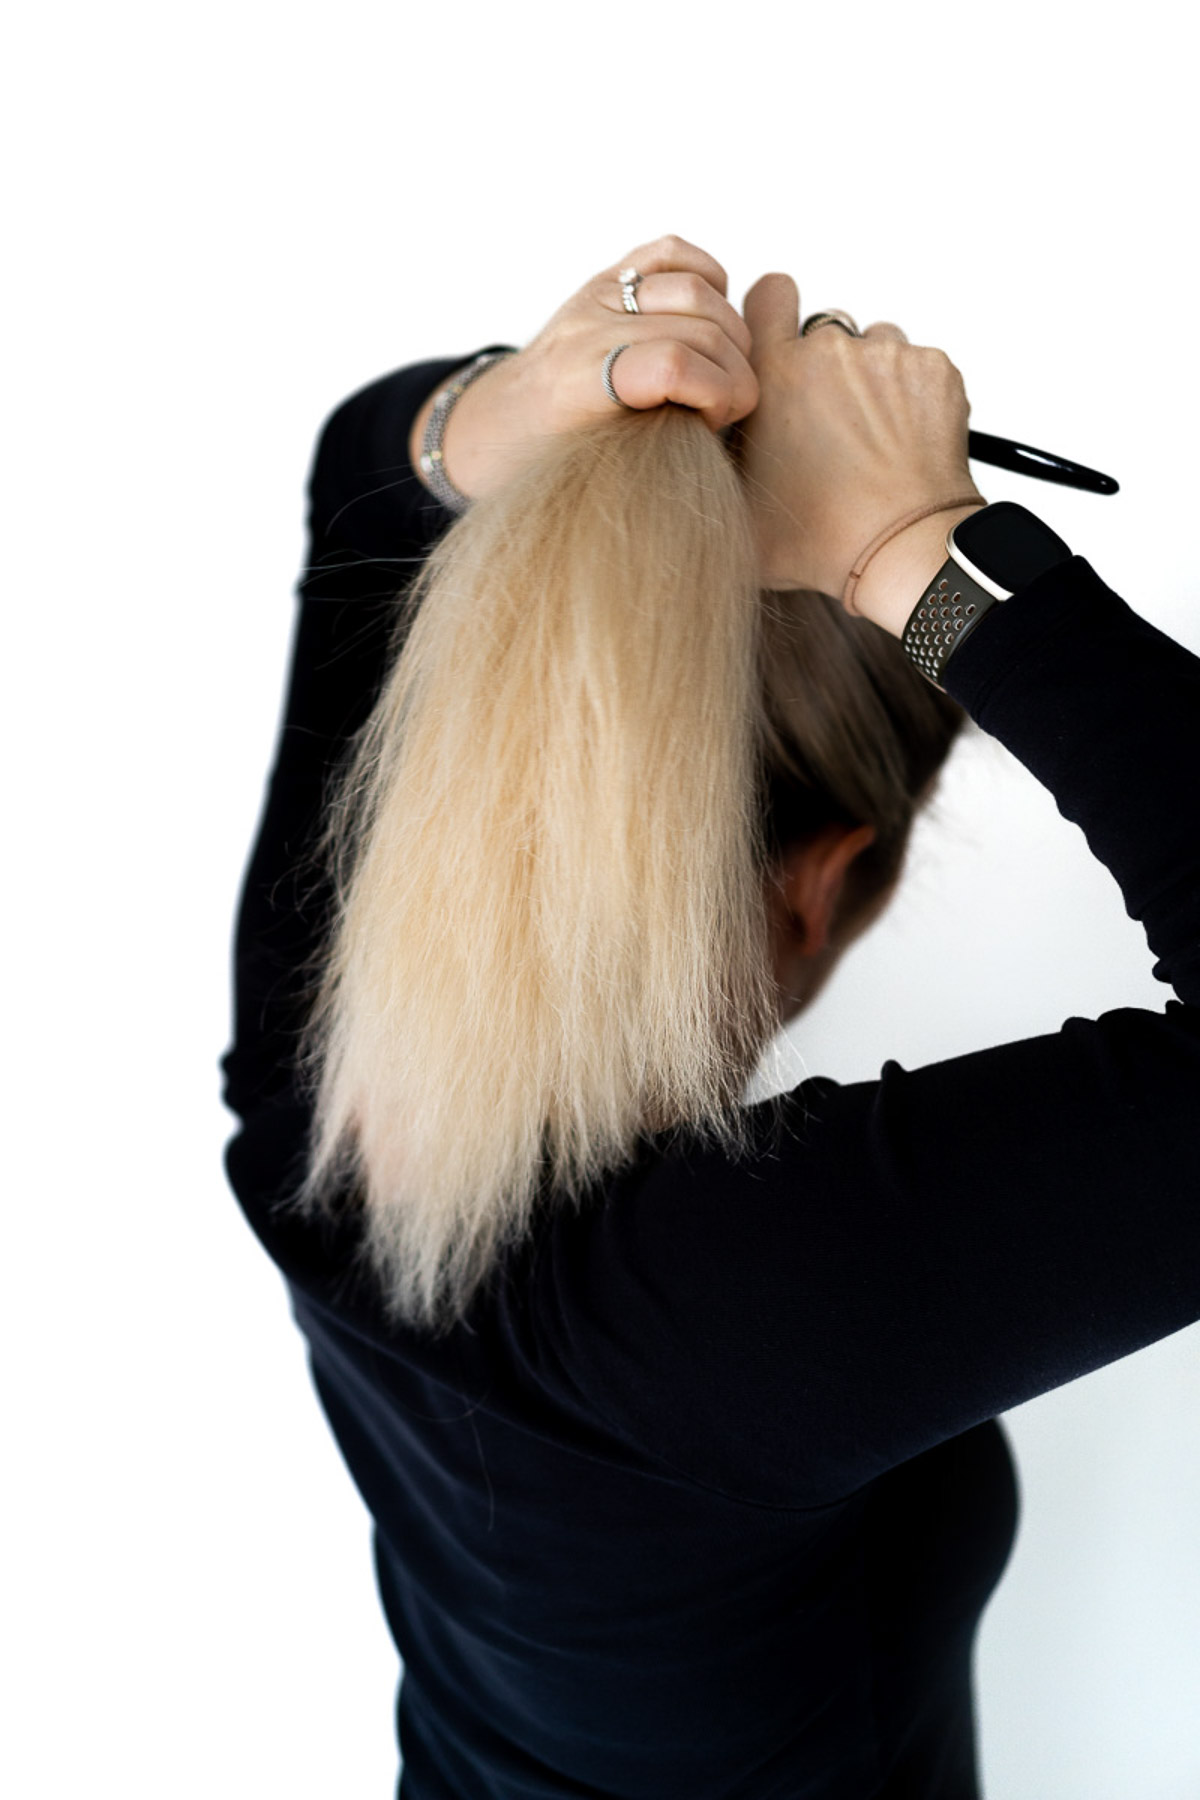 Brush hair into a high ponytail. Use a fine tooth comb to remove all bumps on your head.
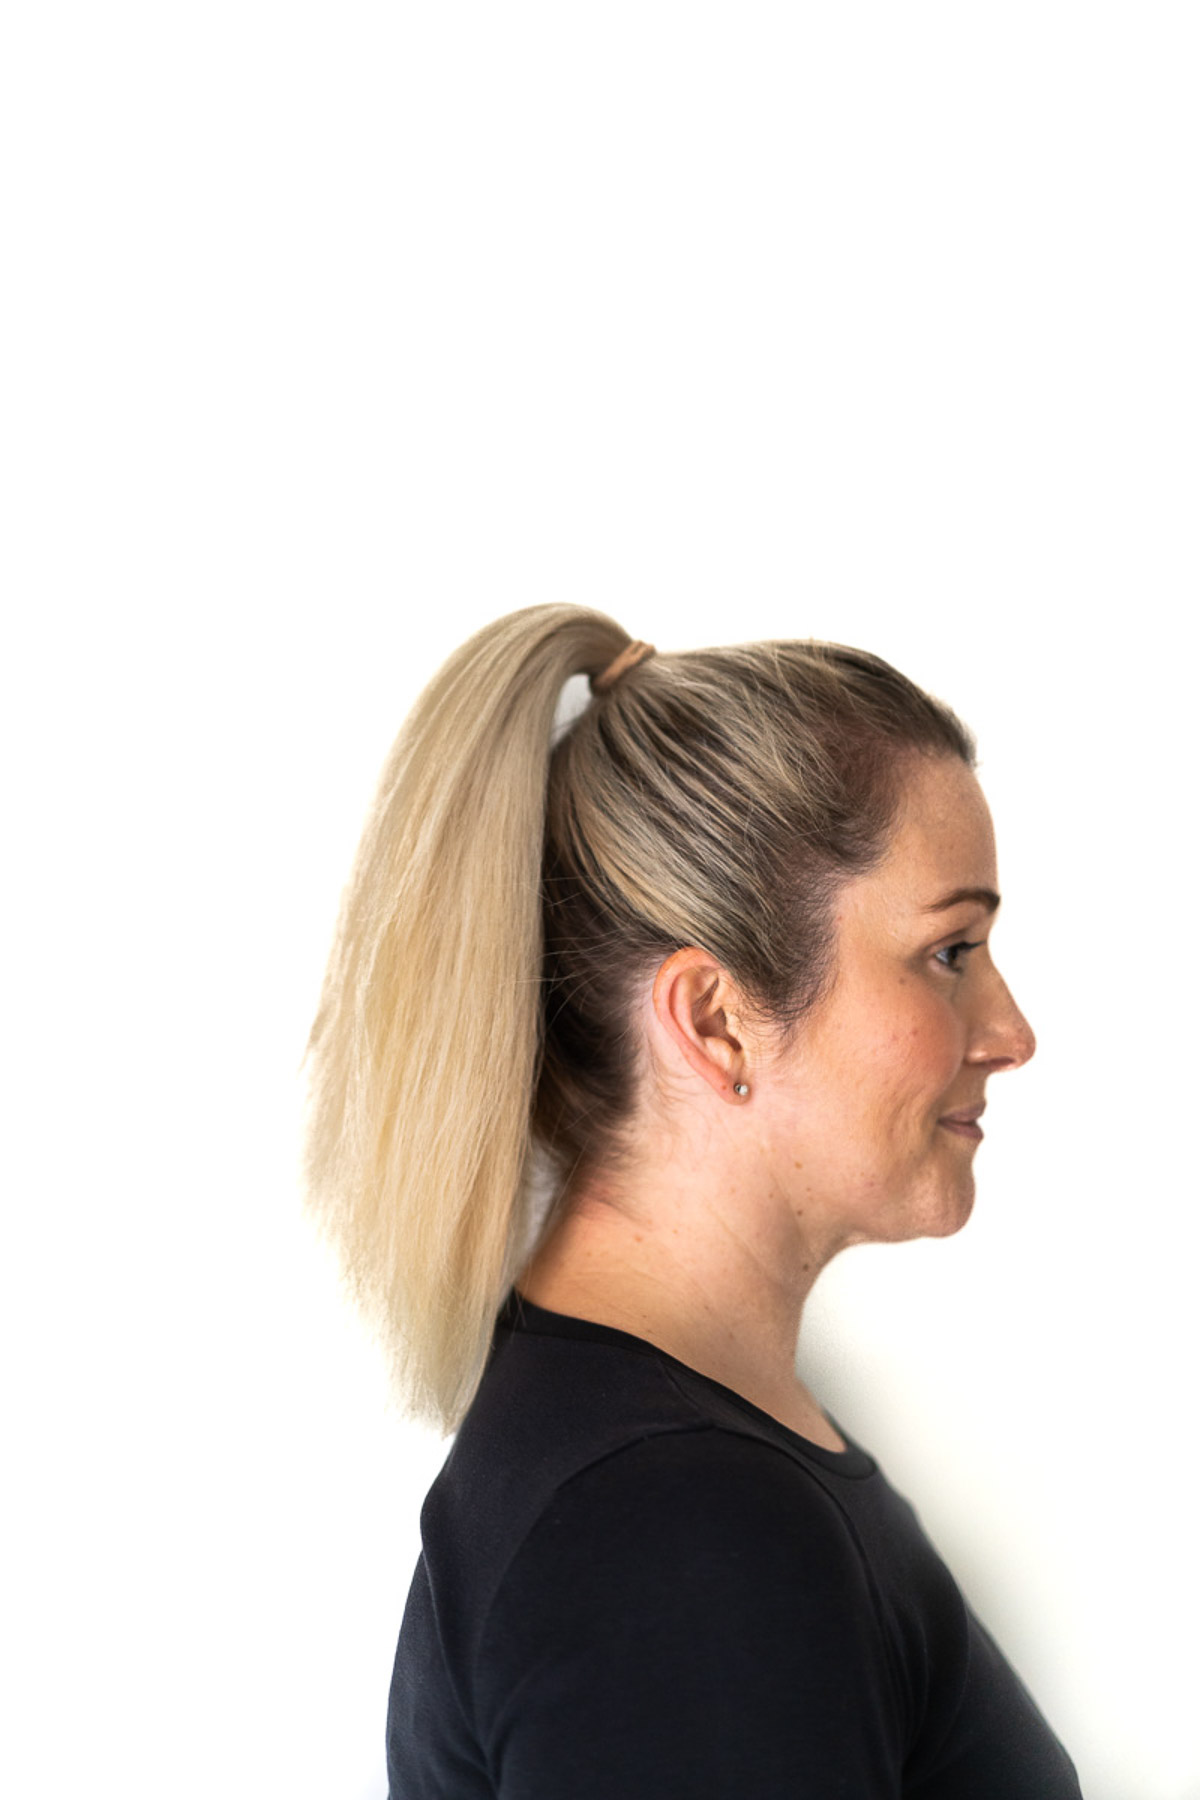 Use molding wax and hair spray to remove as many flyaways as possible. For hairspray, aim nozzle at hair and spray. Use fingertips and your palm to smooth hair back. Then spray ponytail with hairspray from top to bottom with an extra spritz at the tip.
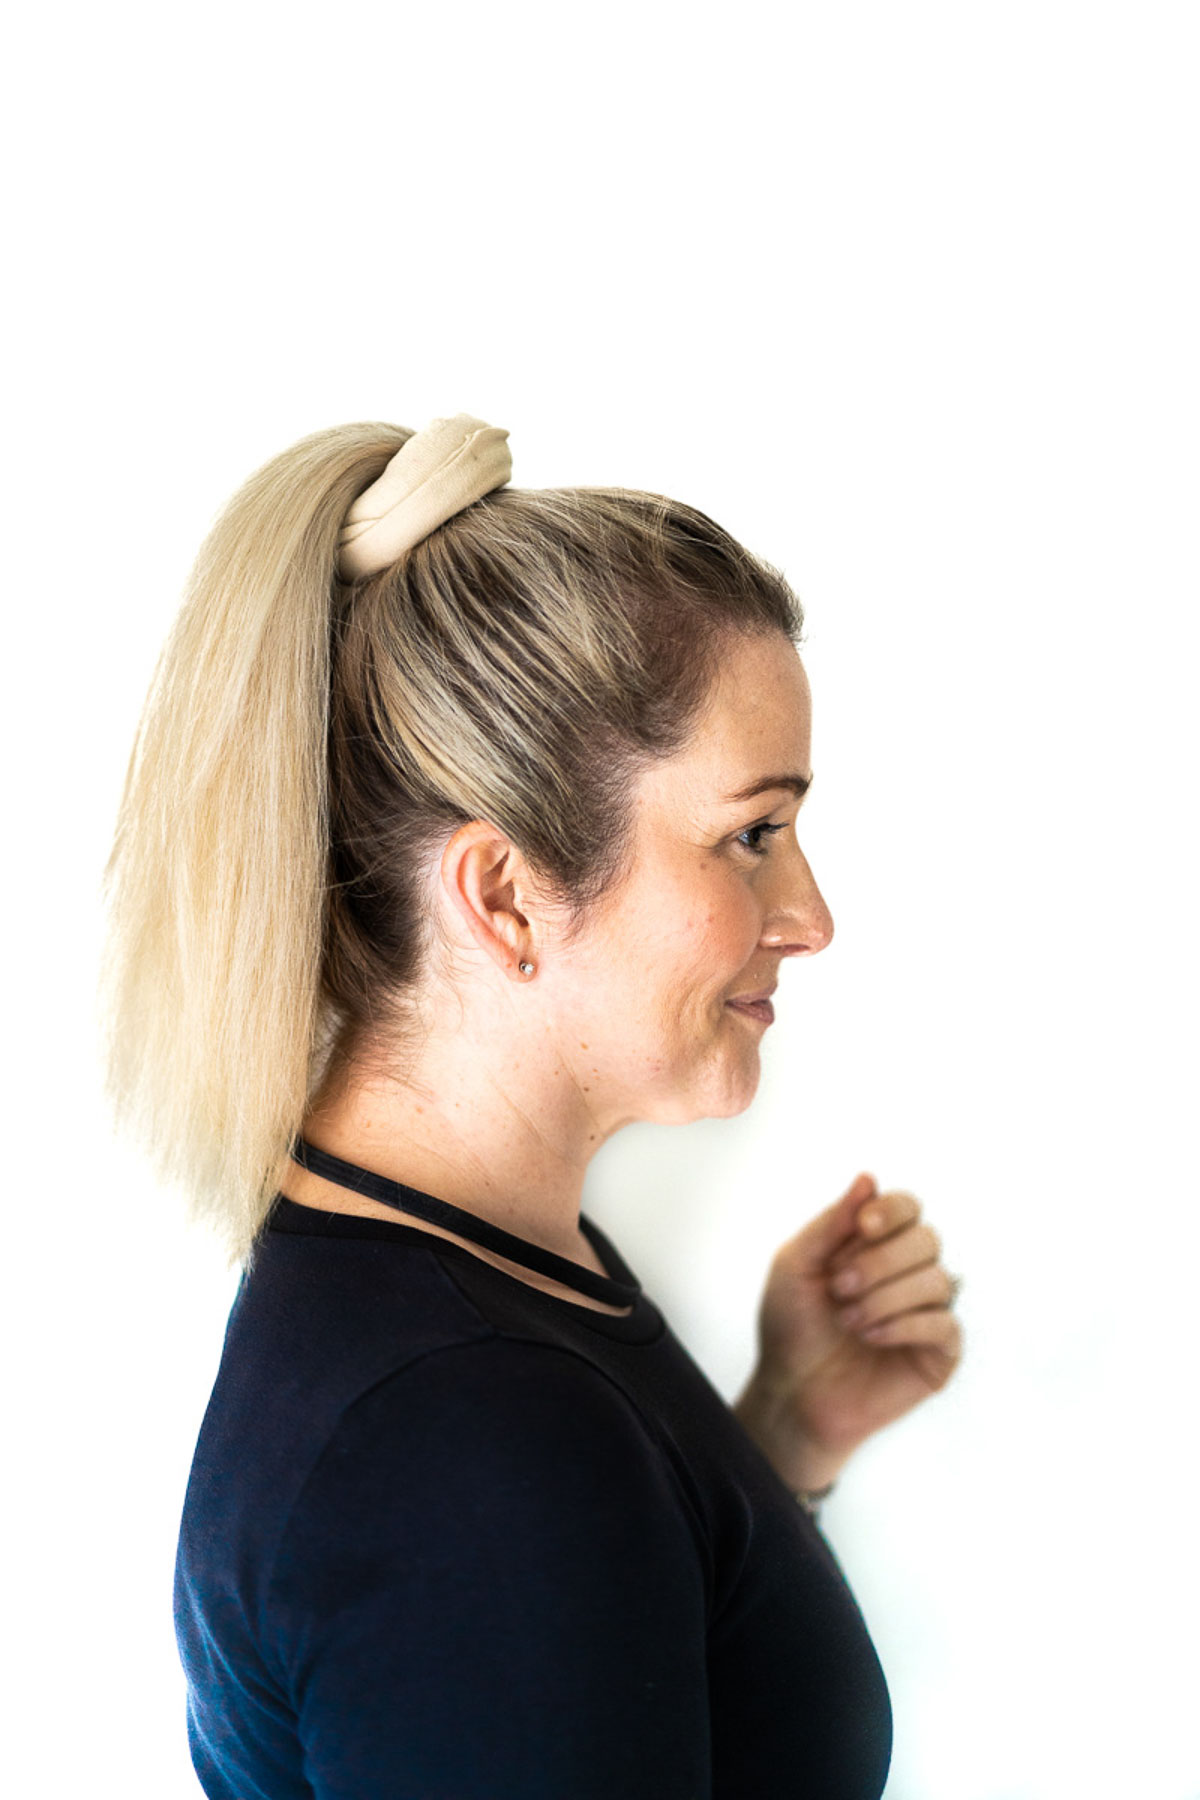 Place bun maker at root of ponytail.
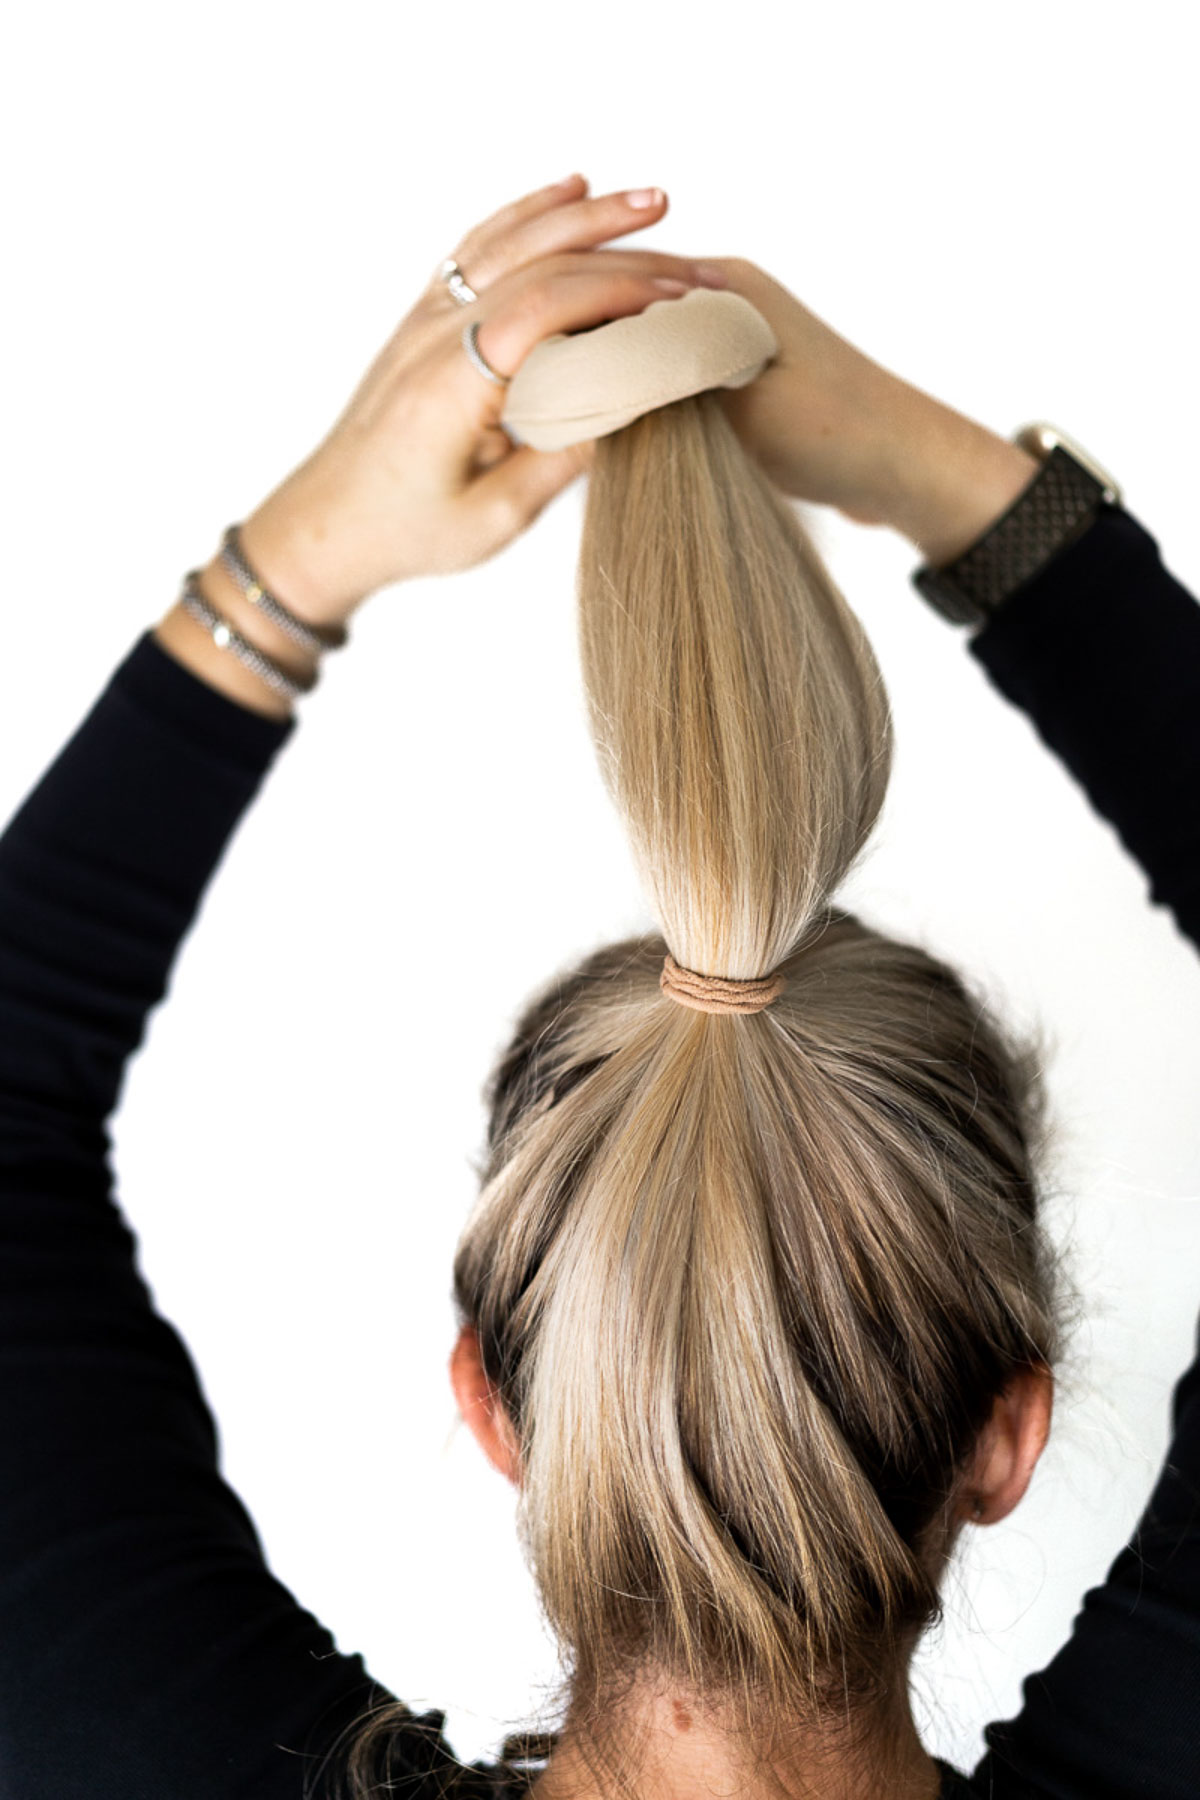 Gather ponytail in your hand and pull hair up and away from your head (roughly 45 degrees down from straight up). Carefully slide bun maker to 1-2 inches from tip of hair. Wrap remaining inches of hair around bun maker.
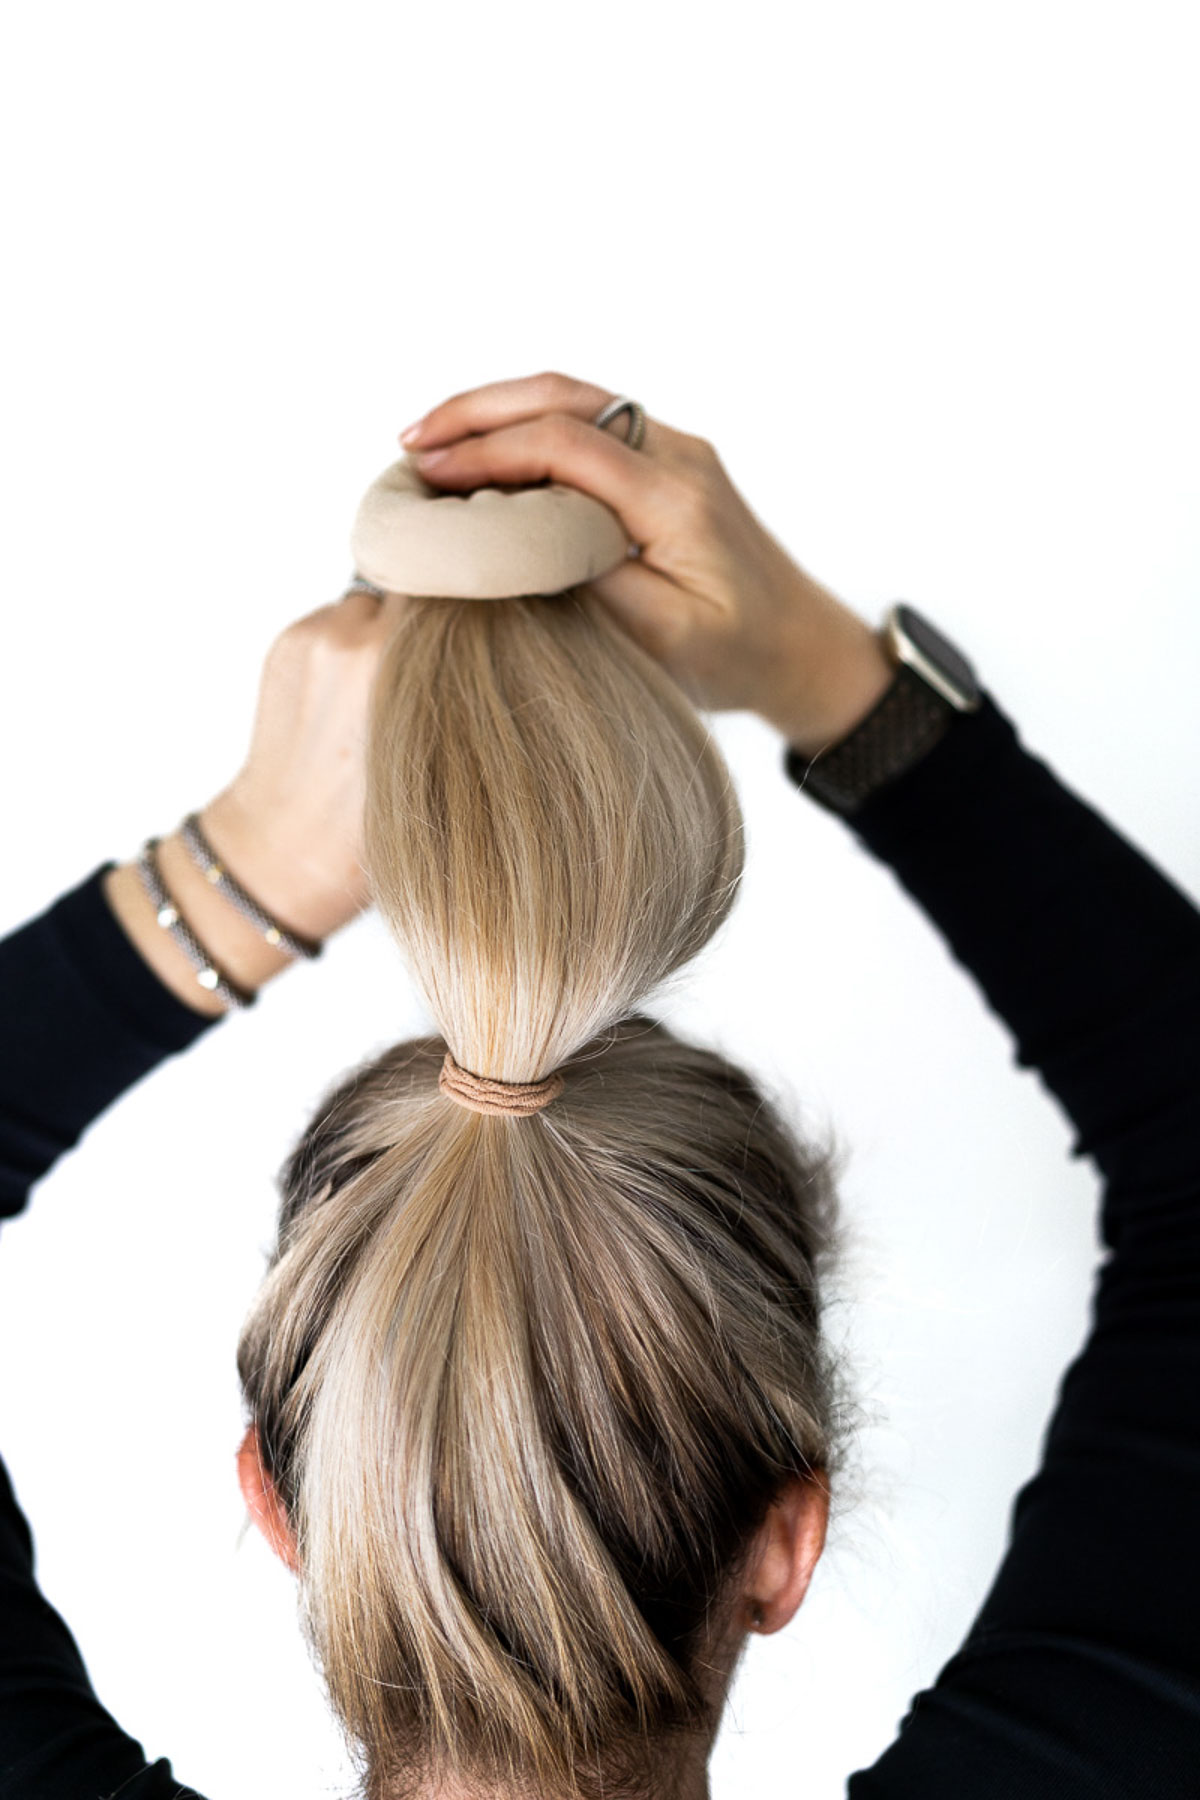 Slowly, work your way down your ponytail, toward your scalp, rolling the bun maker from the middle out with your fingers. Much of your hair will fold around the sock nicely. Gather and tuck remaining hair as you work your way down. Don’t worry too much about getting your hair all the way around the sock.
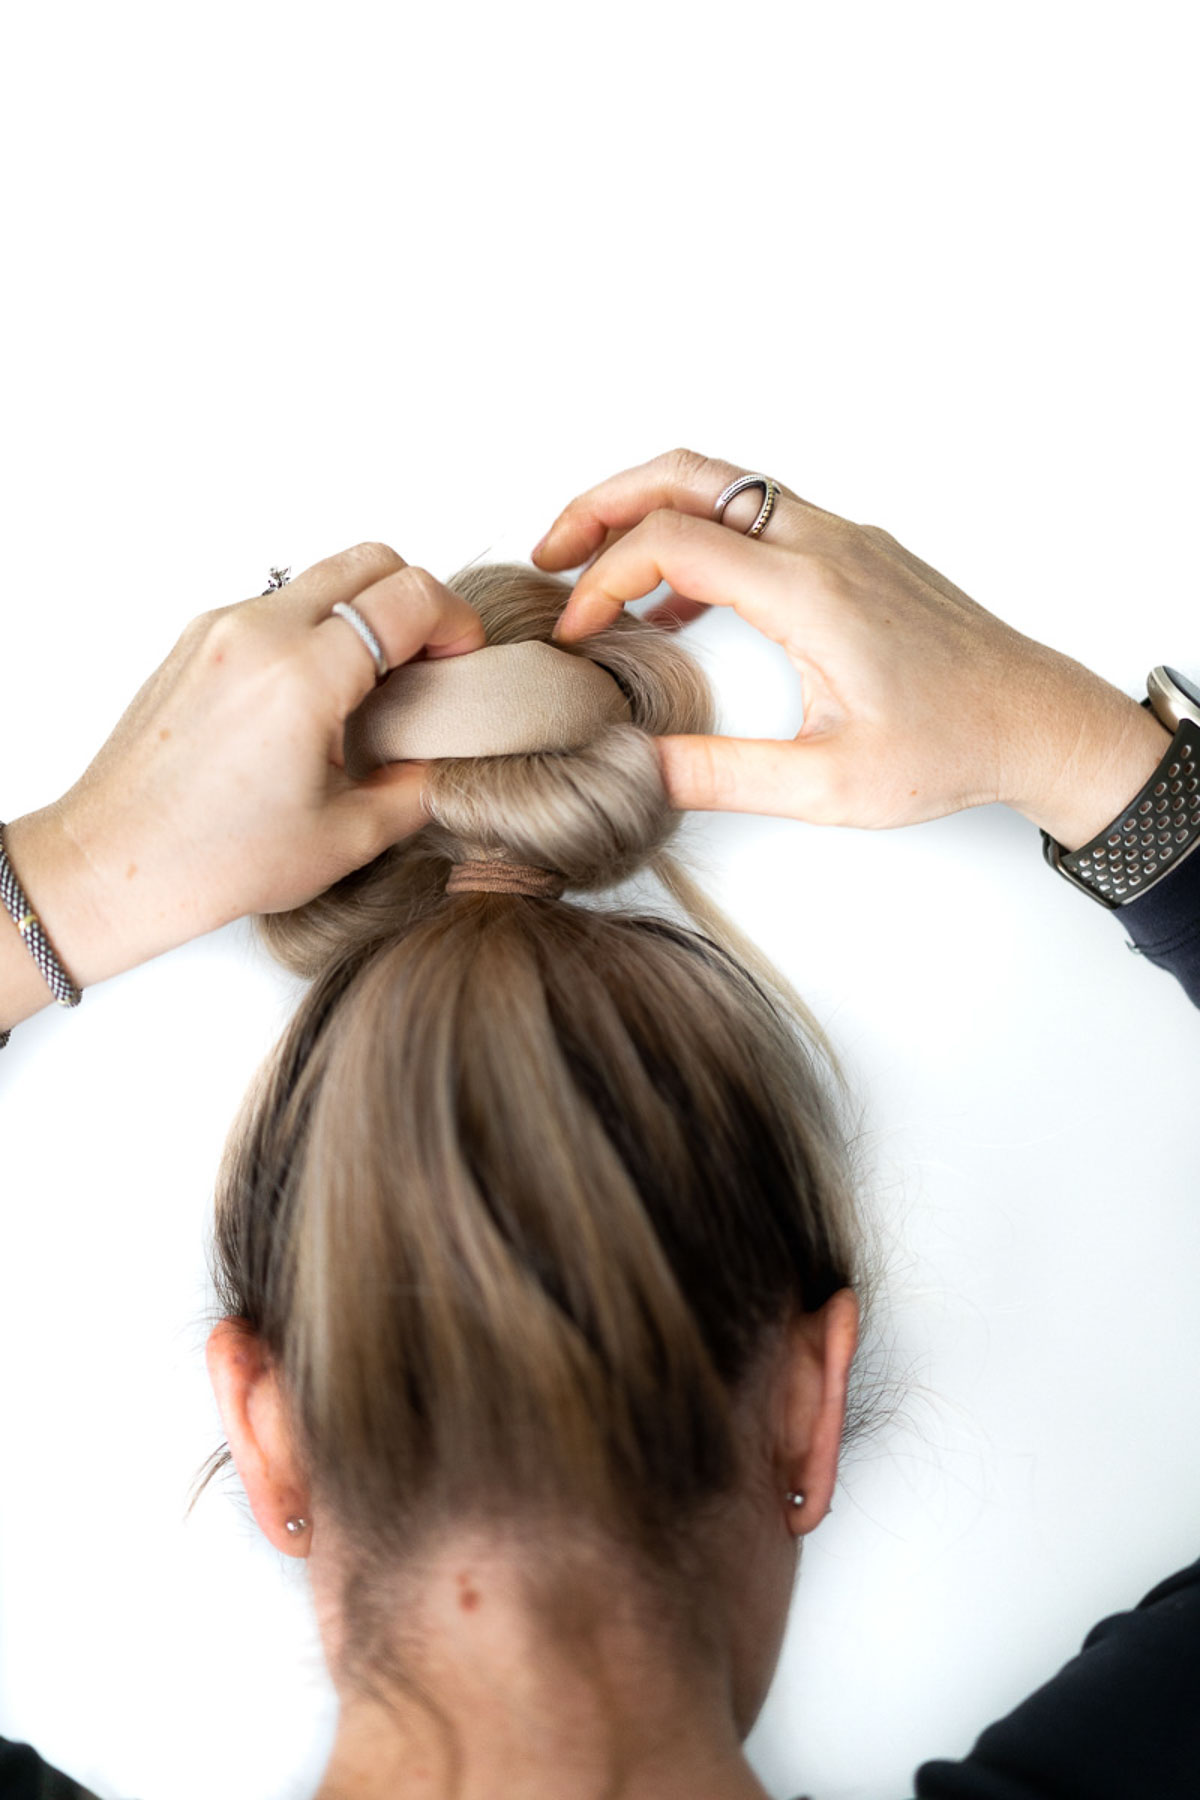 When ponytail is rolled around the sock, give it another twist out to make sure it’s tight.
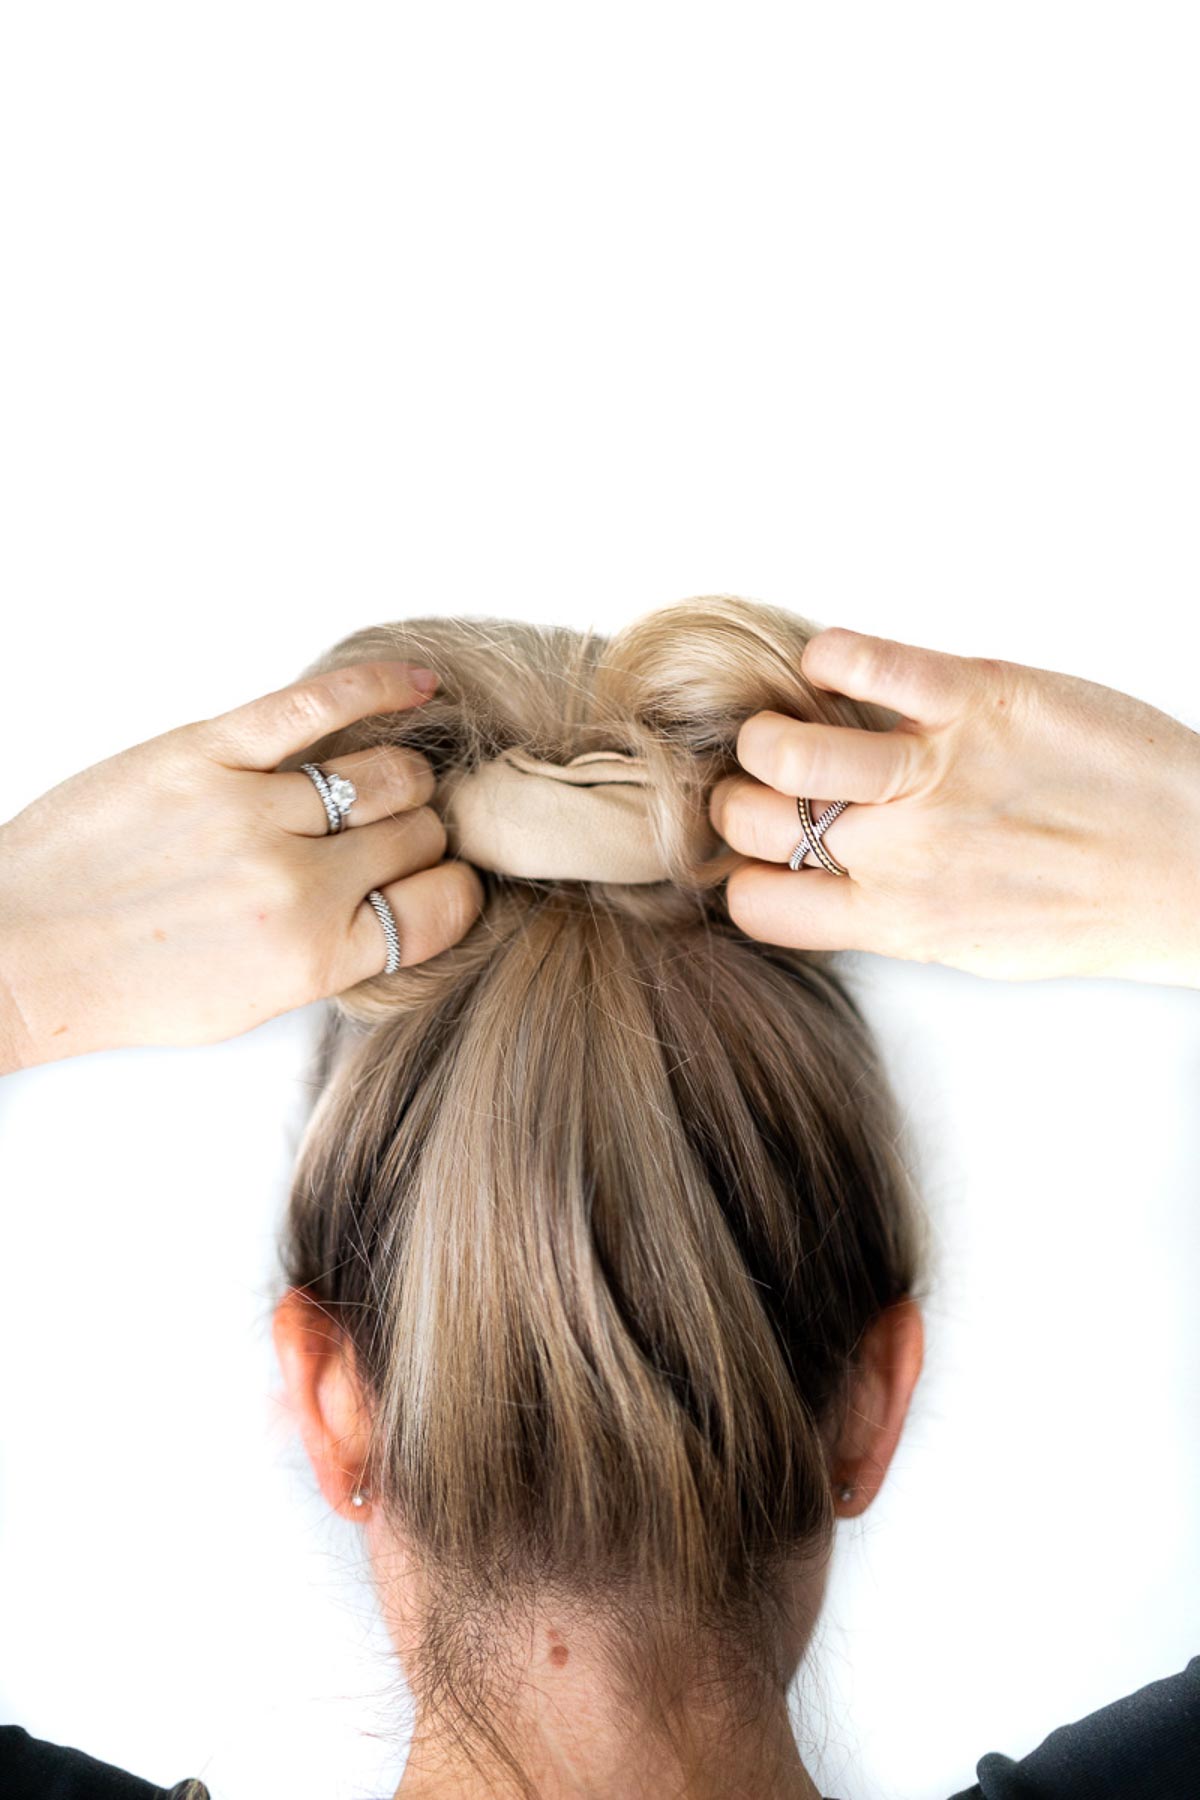 Fill in your sock bun by gently moving hair slowly around to empty spots.
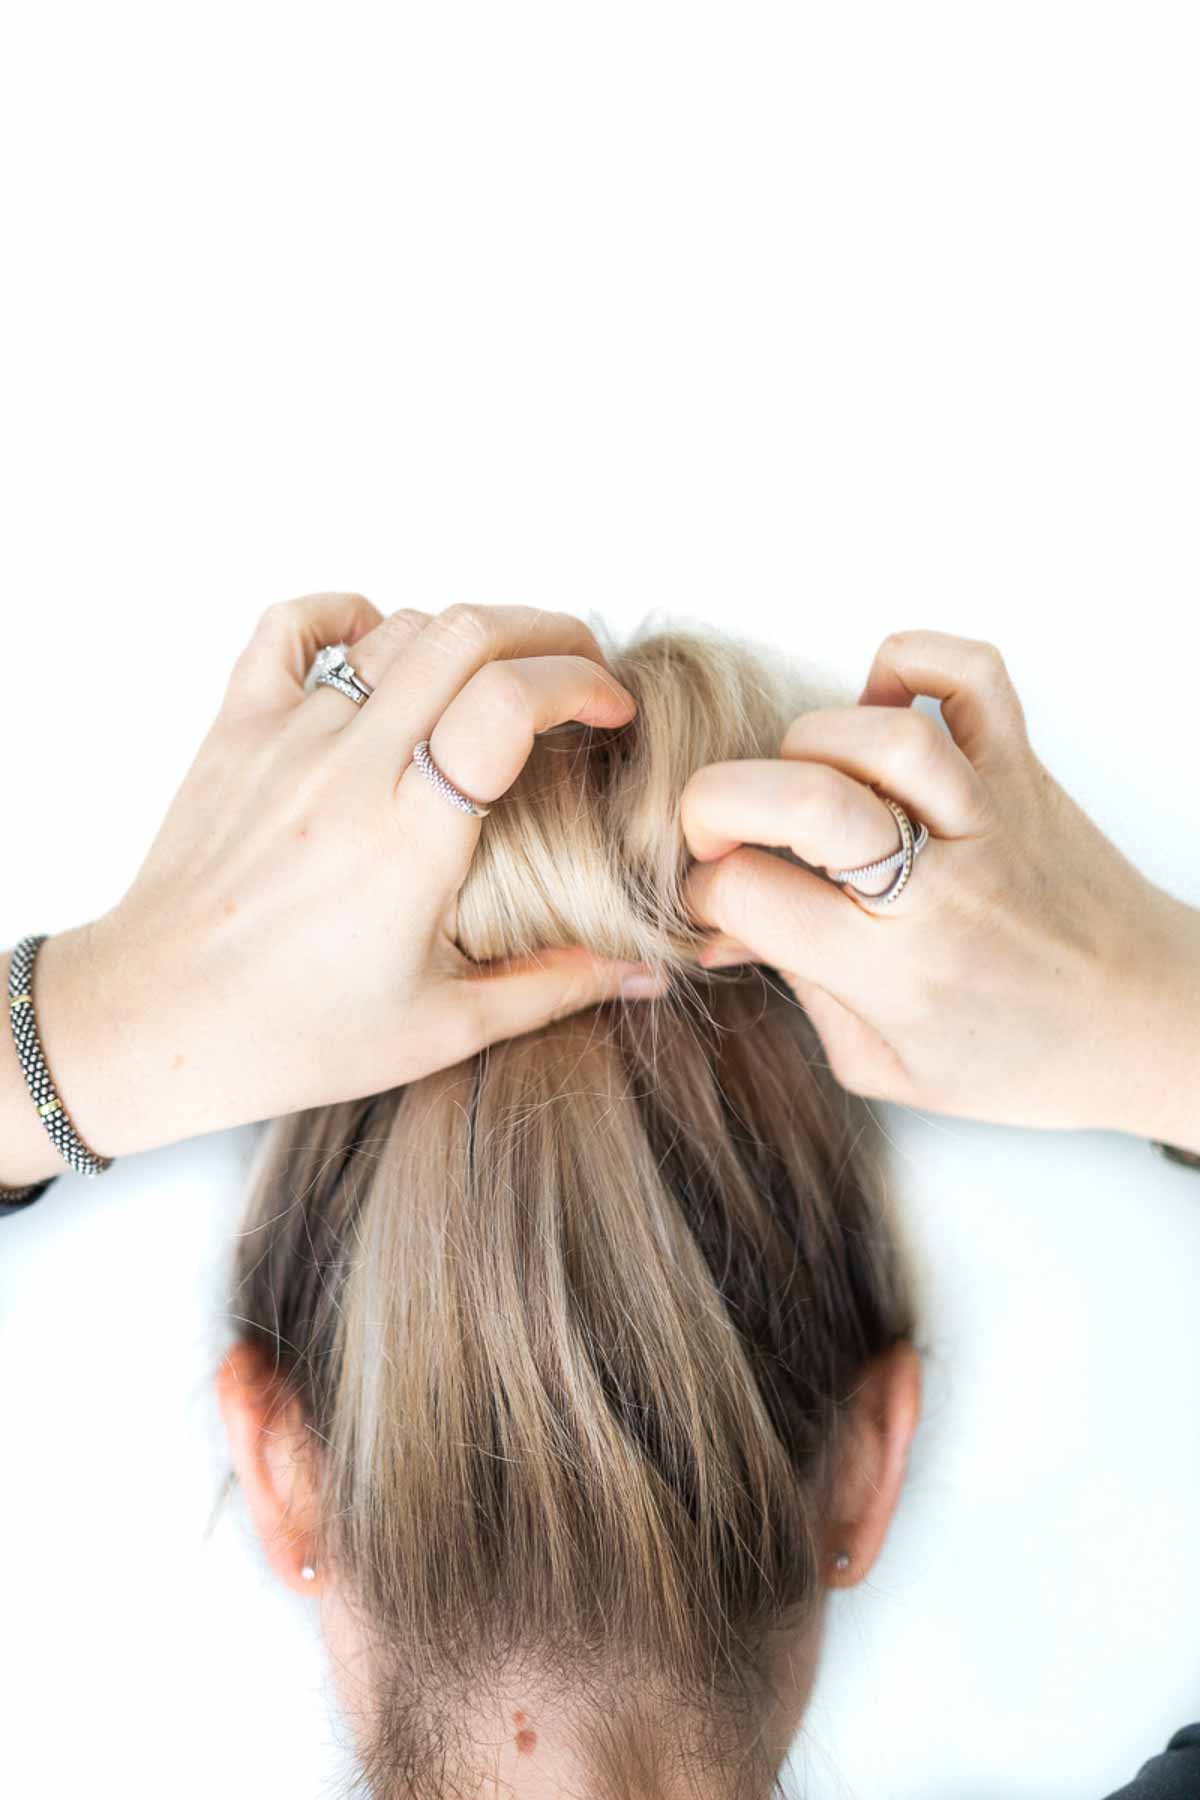 Use bobby pins to secure loose hairs. Bobby pins help secure the bun too, so tuck a few into any spots that feel weak.
 Spray any flyaways that came loose. Put headband on. If you have troublesome flyaways, tuck them under the headband.